I love putting in new hardscape. Plants are the wildcard in your garden. You can’t totally control plants, no matter how hard you try. You just never really know how long you will want a plant or just how long it will live. Concrete work is permanent. It brings order to an otherwise shuffled landscape. With each passing year, I know my concrete work will be as it was from the beginning. Odd as it might sound, it is calming to me. I haven’t worked with my old friend concrete for almost 10 years. So the big time gap being hardscape projects makes this new one that much more exciting.
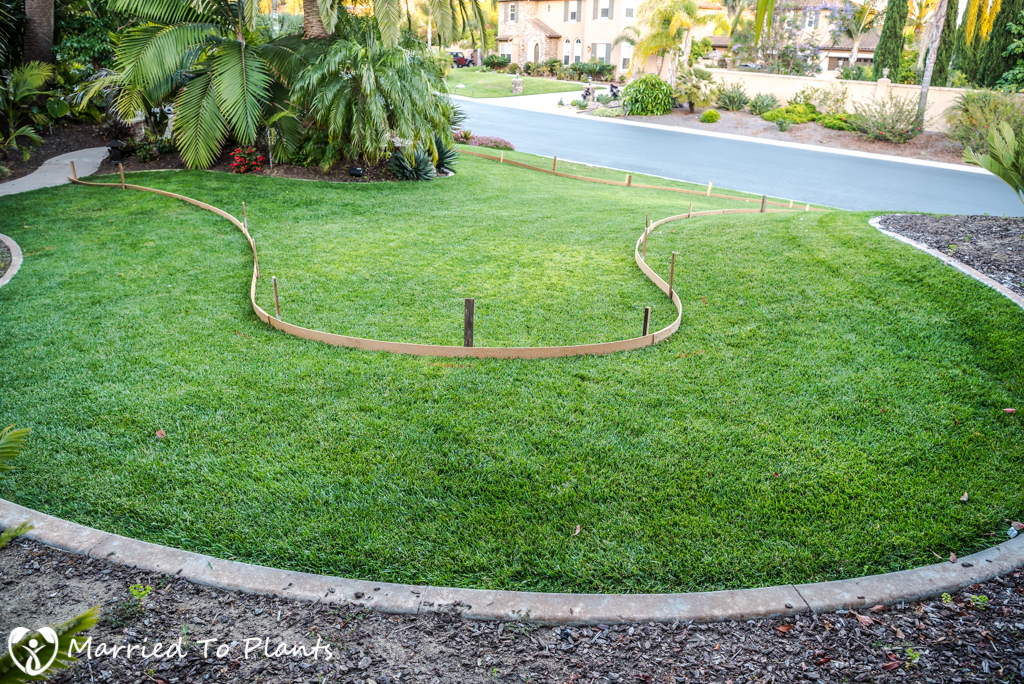
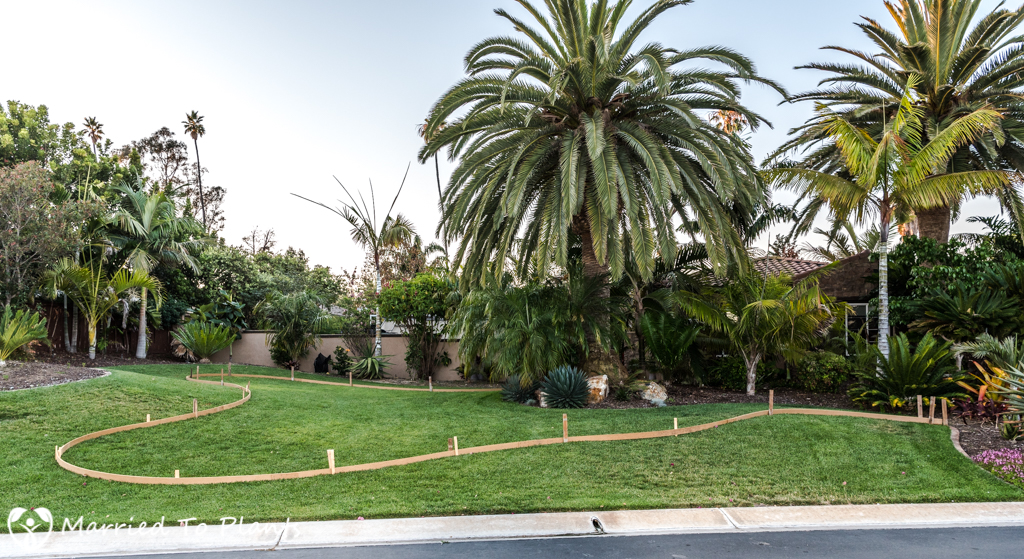
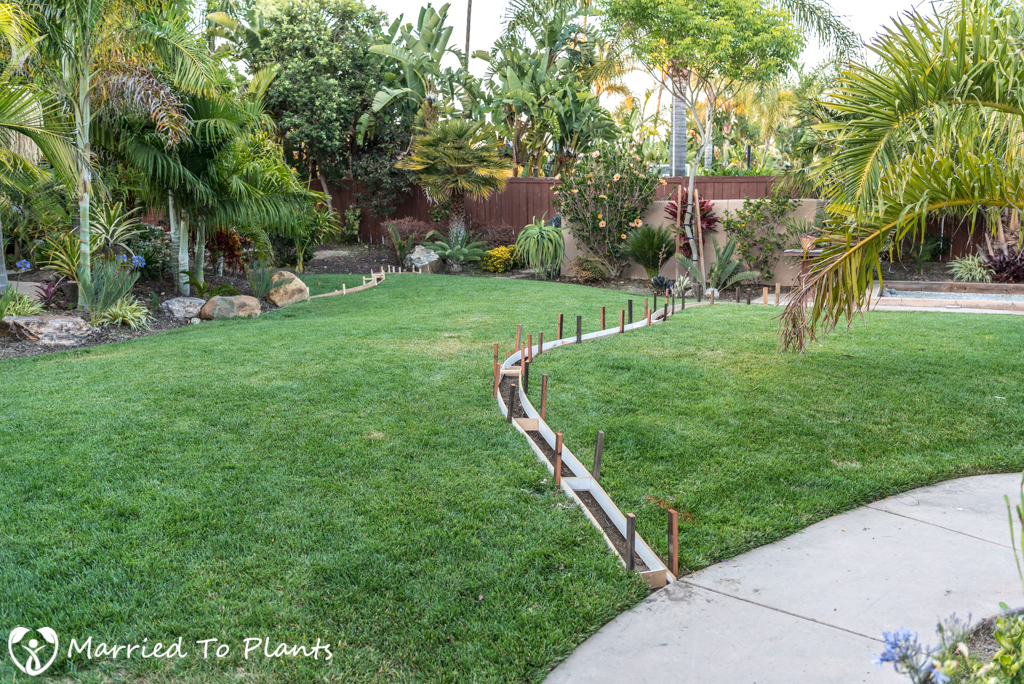
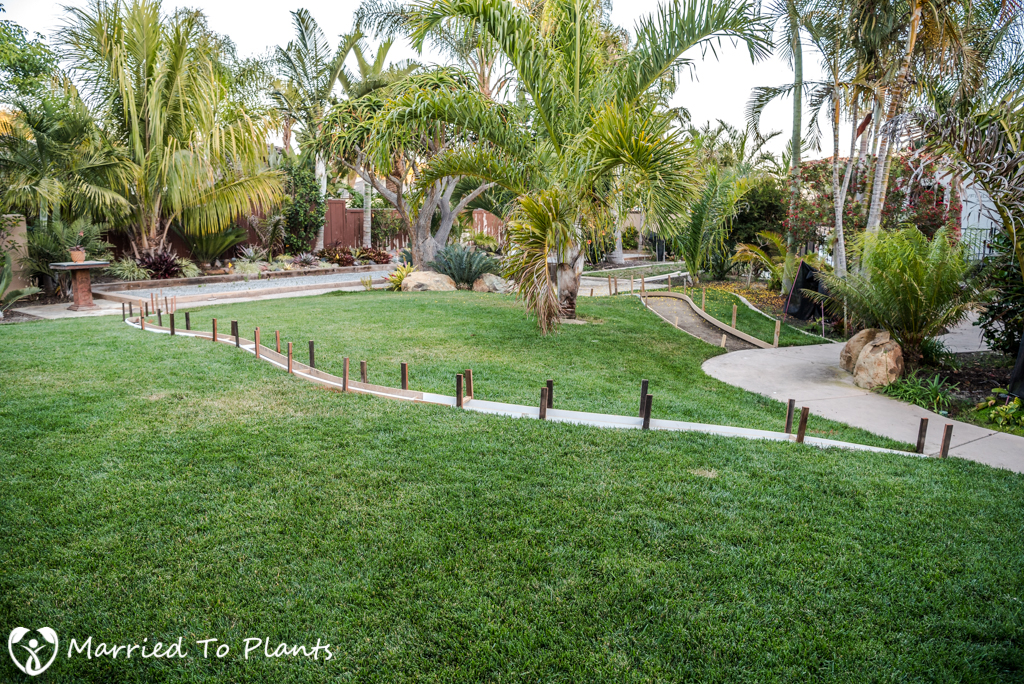
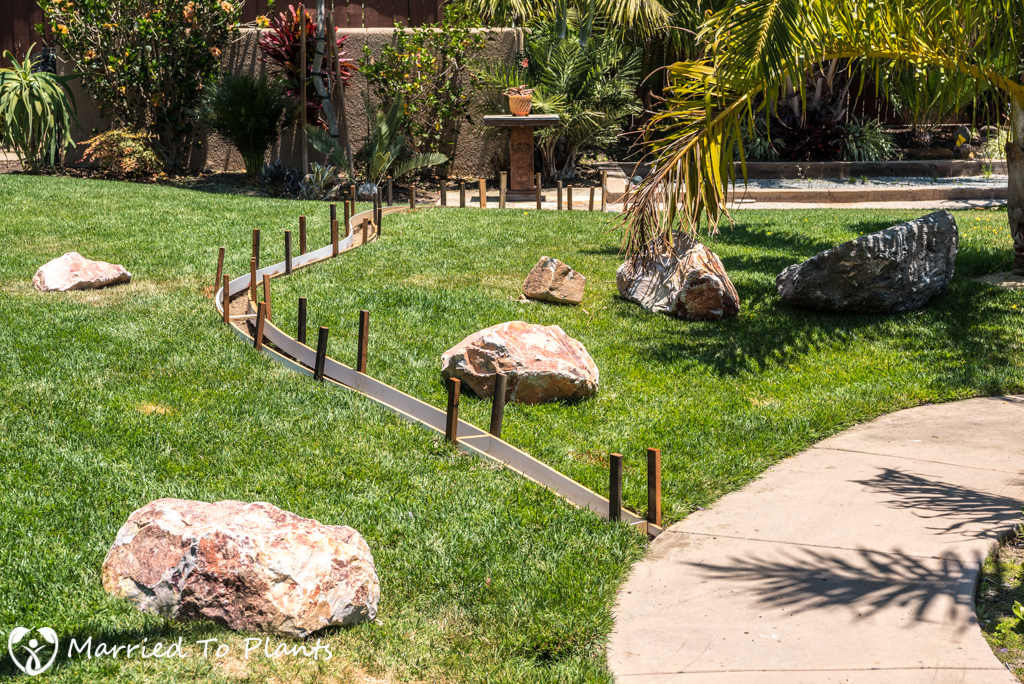
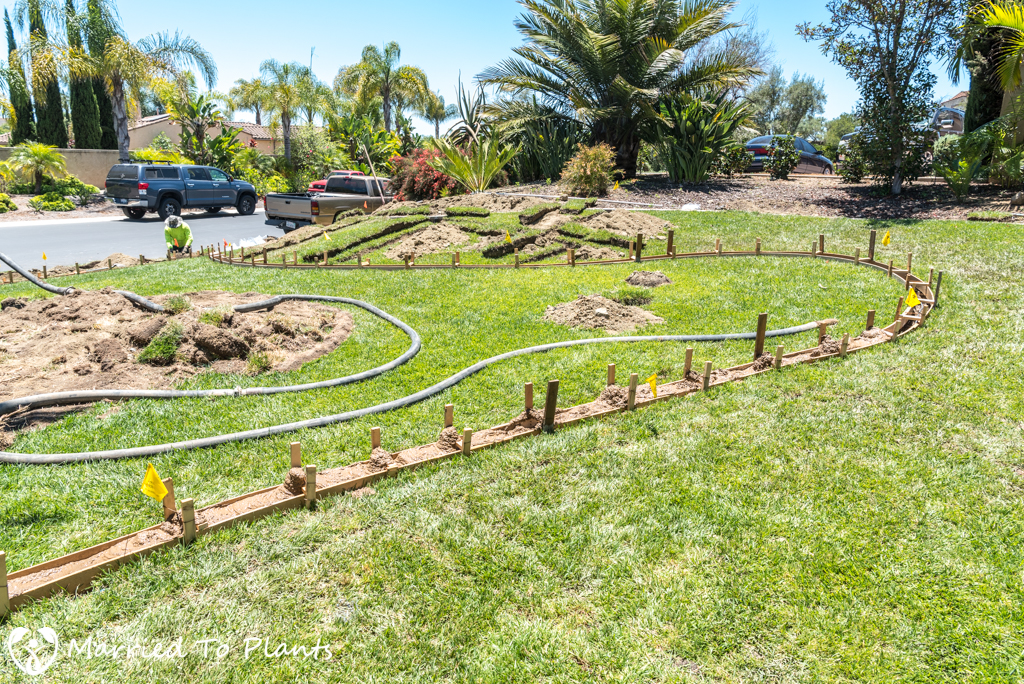
As I discussed in a post a few months ago showing what plans I had for a large-scale garden project, I was going to widen my planter beds and shrink the grass. I do not like grass growing right up to a planter bed, so I always like to use concrete mow strips as a dividing line between the two. While you can mark out the planning of the mow strips with spray paint or chalk wheel, my concrete guy likes to use bender board. Bender board is easy to move around and provides a great reference to help you better envision where the mow strips will be.
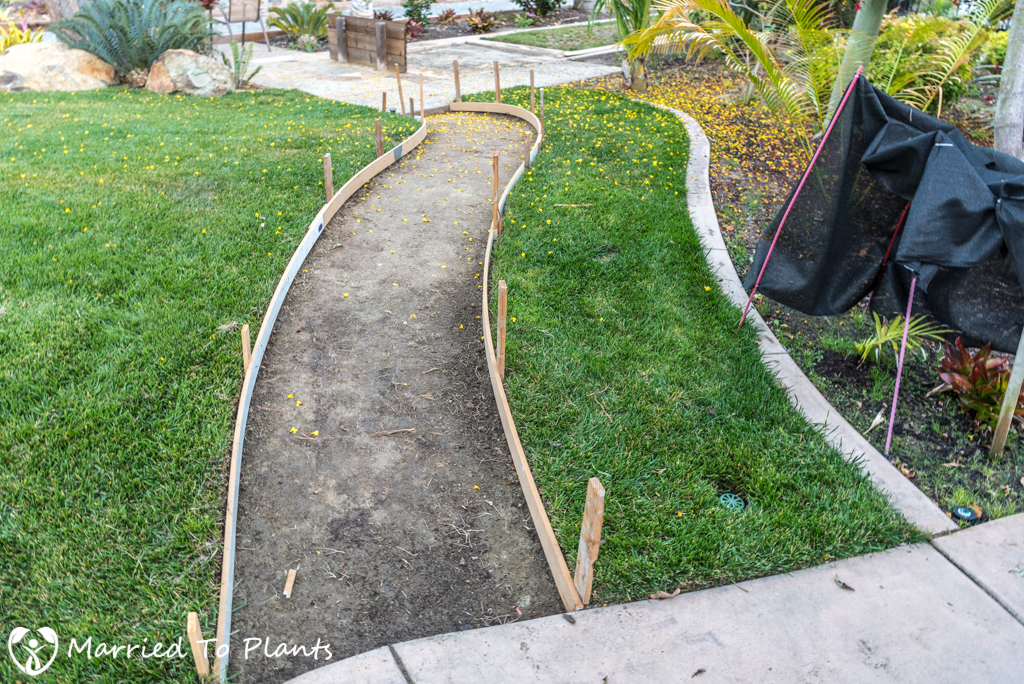
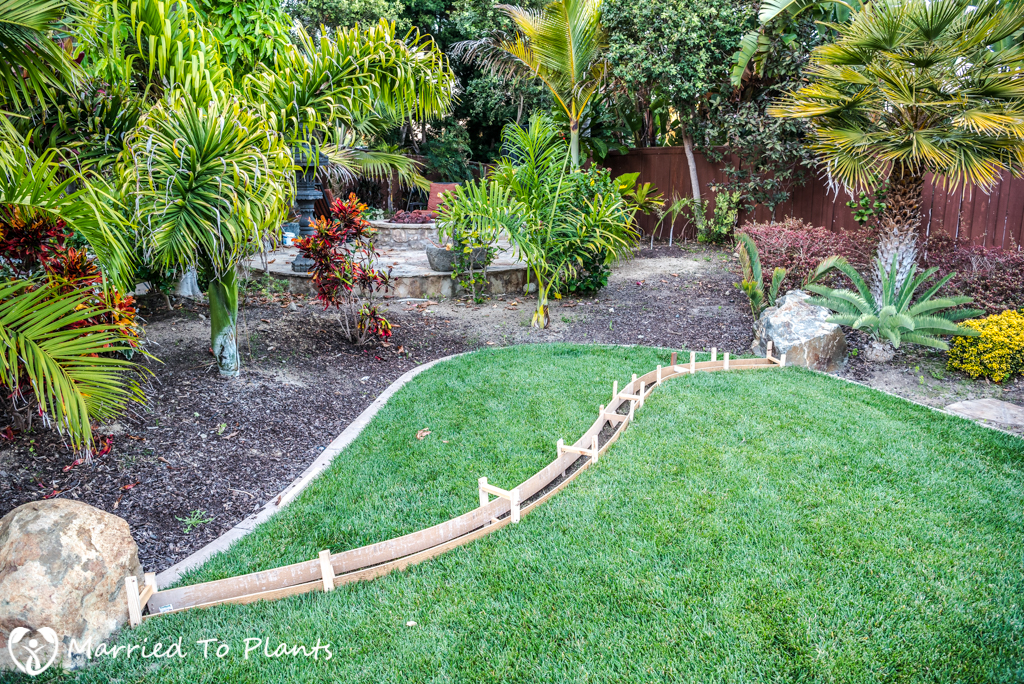
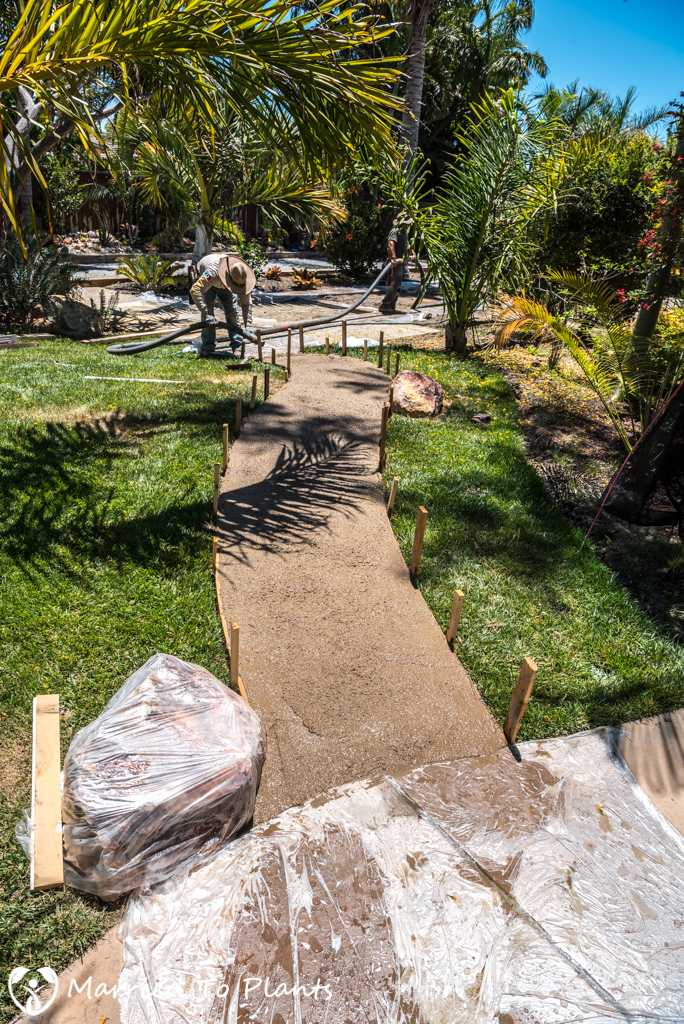
The bender board was also used to build the forms for a new pathway I was putting in. This new pathway will end up cutting through a cycad garden I am building.
Once I approved the placement of the bender board, the concrete guys would dig out a 6-inch trench.
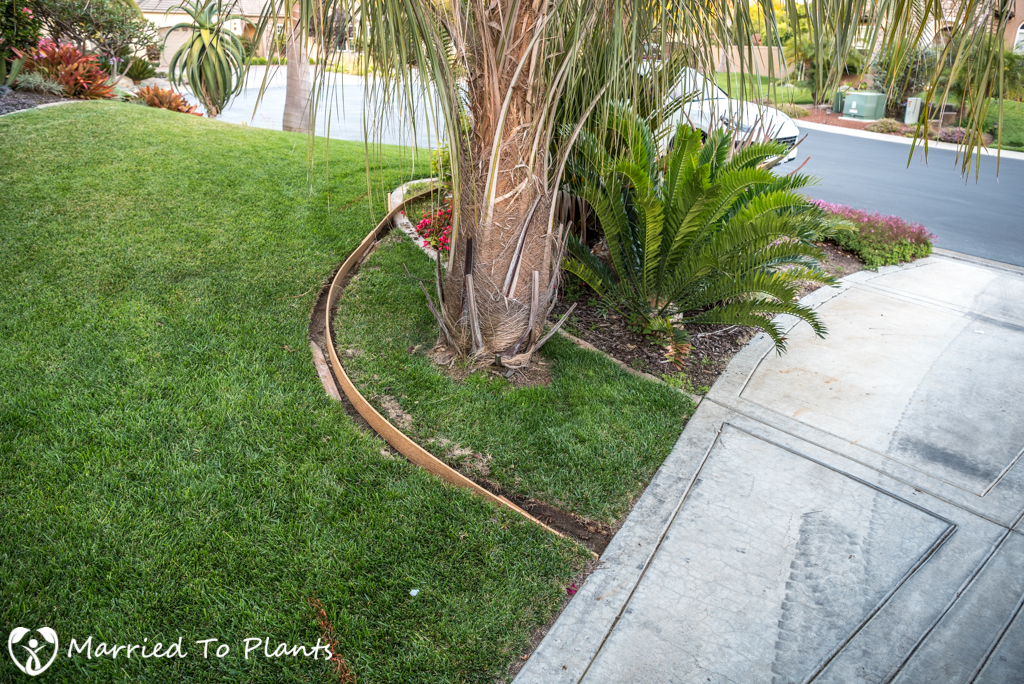
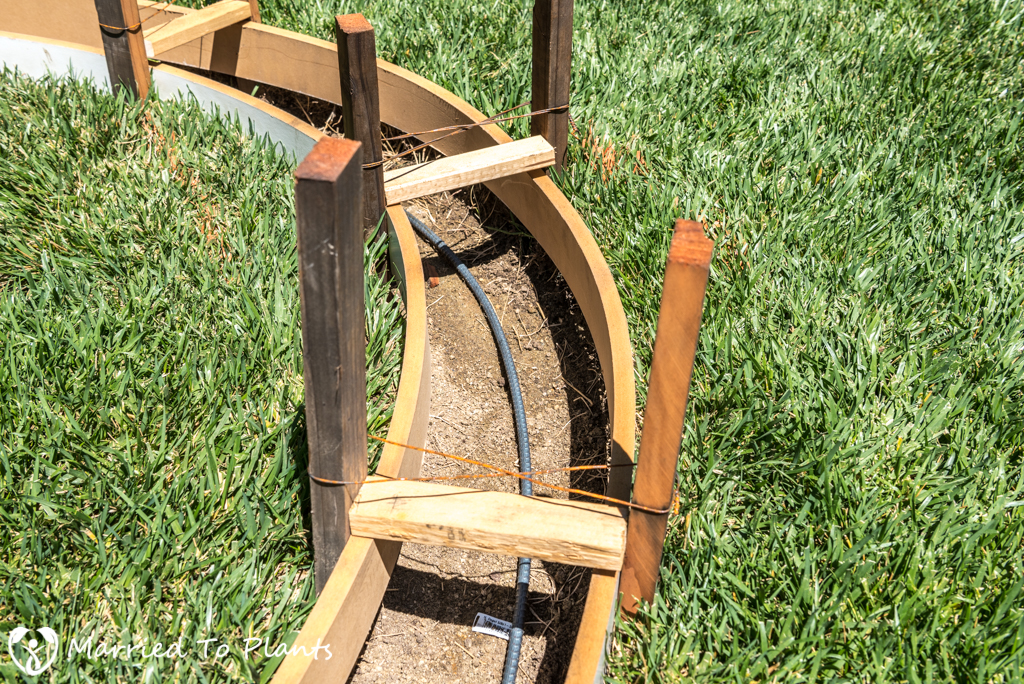
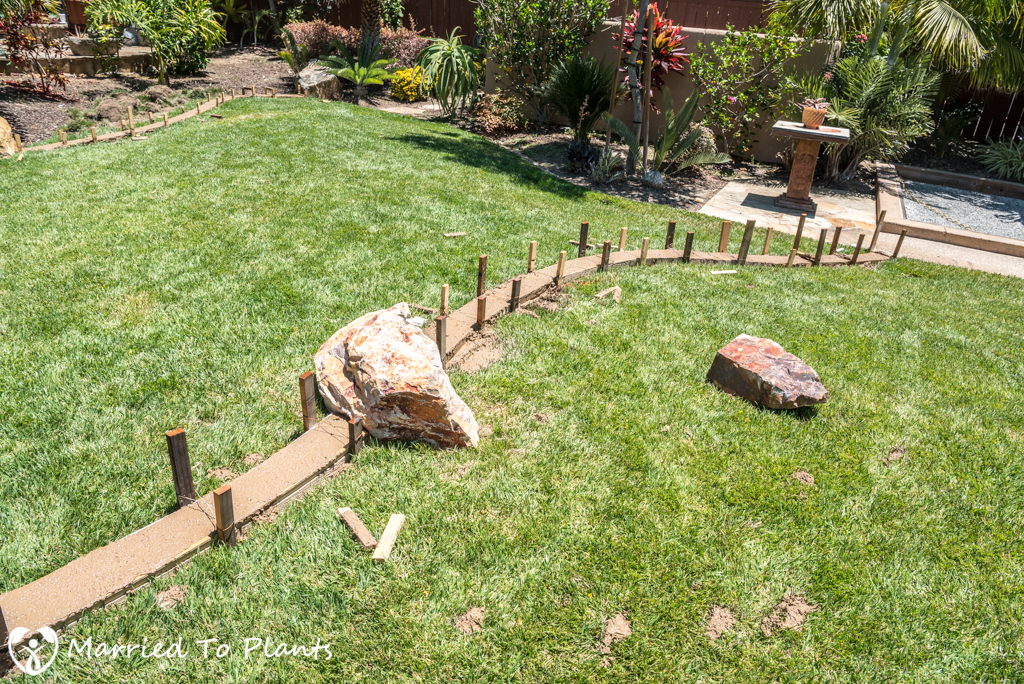
With the trenches dug, the forms could be built that would hold the concrete in place until it dries. You can have a machine spit out mow strips, but by hand is much better in my opinion. The old forms in my front yard that were done with a machine are much weaker and many have cracks in them. The mow strips in my backyard that were done this way over 10 years ago don’t have any issues.
Some of the new mow strips I am adding are only a few feet from the old ones. It might seem ridiculous to spend the time and money on such a small change, but for me I now know I can get a few more cycads in the foreground of the palm trees that I planted too close to the old strip. So it is worth it to me from a space-grabbing point of view and aesthetically.
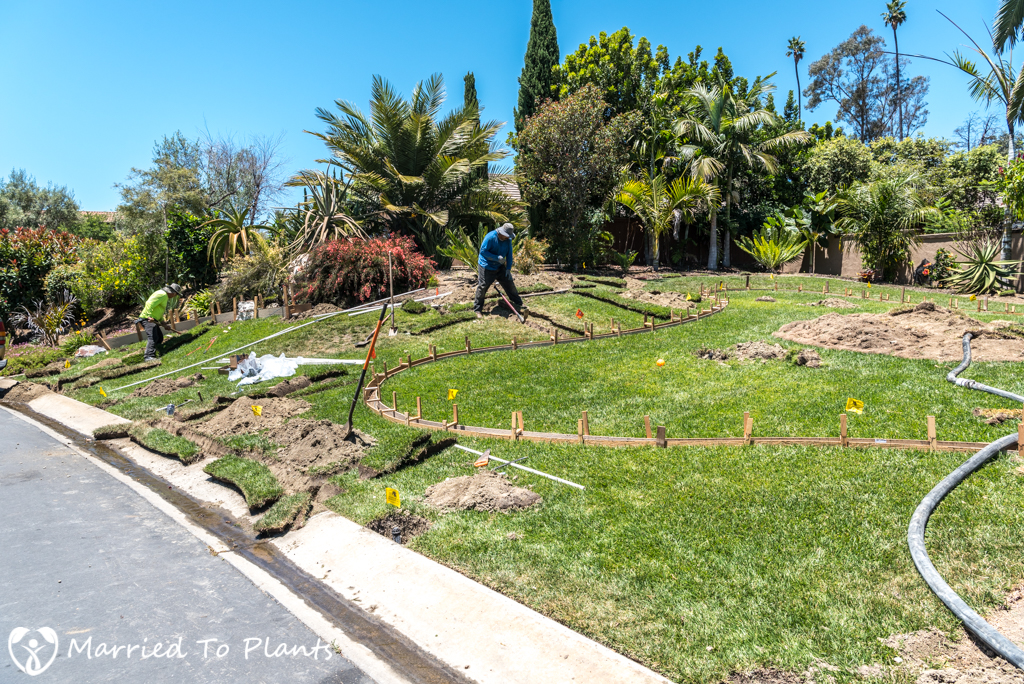
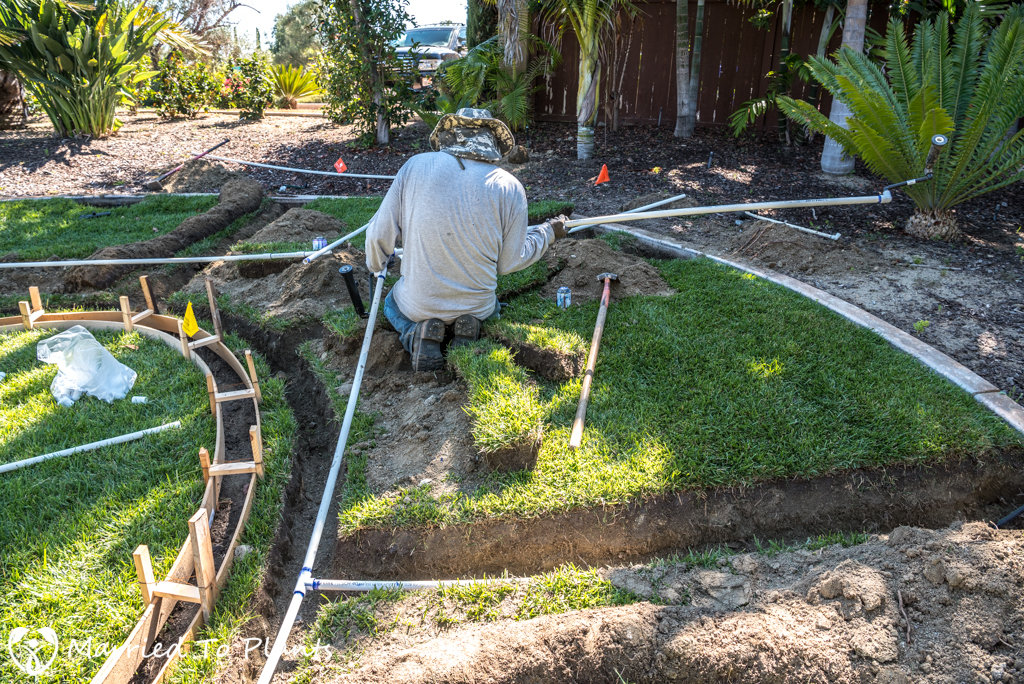
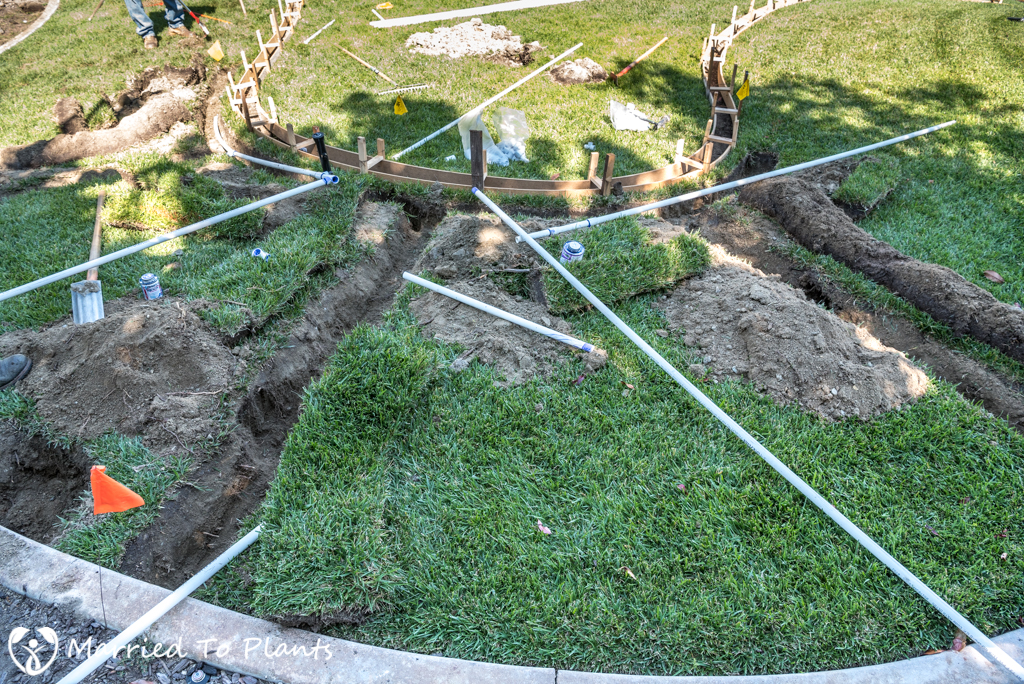
Once the forms were built, I could begin changing out the sprinkler lines to fit the smaller grass area and new planter beds.
The sprinkler work turned out to be a real pain in the butt. It took much longer to rip out the old sprinkler lines and place the new ones than it took to do all the concrete work combined. In fact, at the time of me writing this post, we were still doing sprinkler work. Putting in a new sprinkler line is not difficult. What made this so hard was that I had the added challenge of using the old lines and moving everything around.
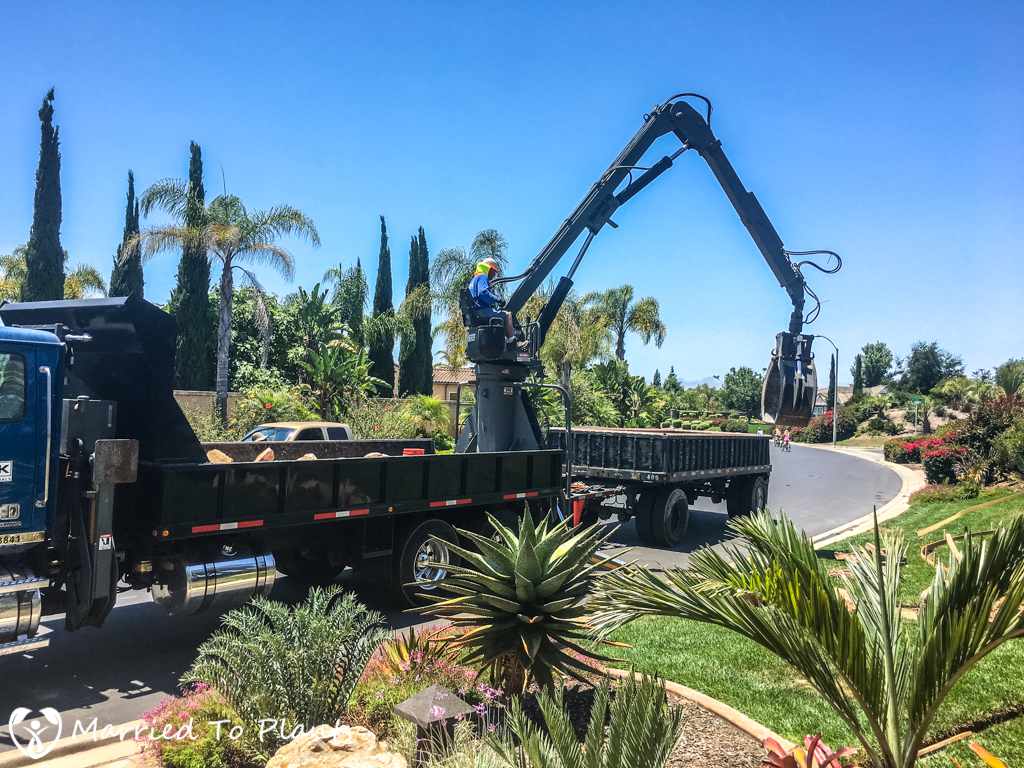
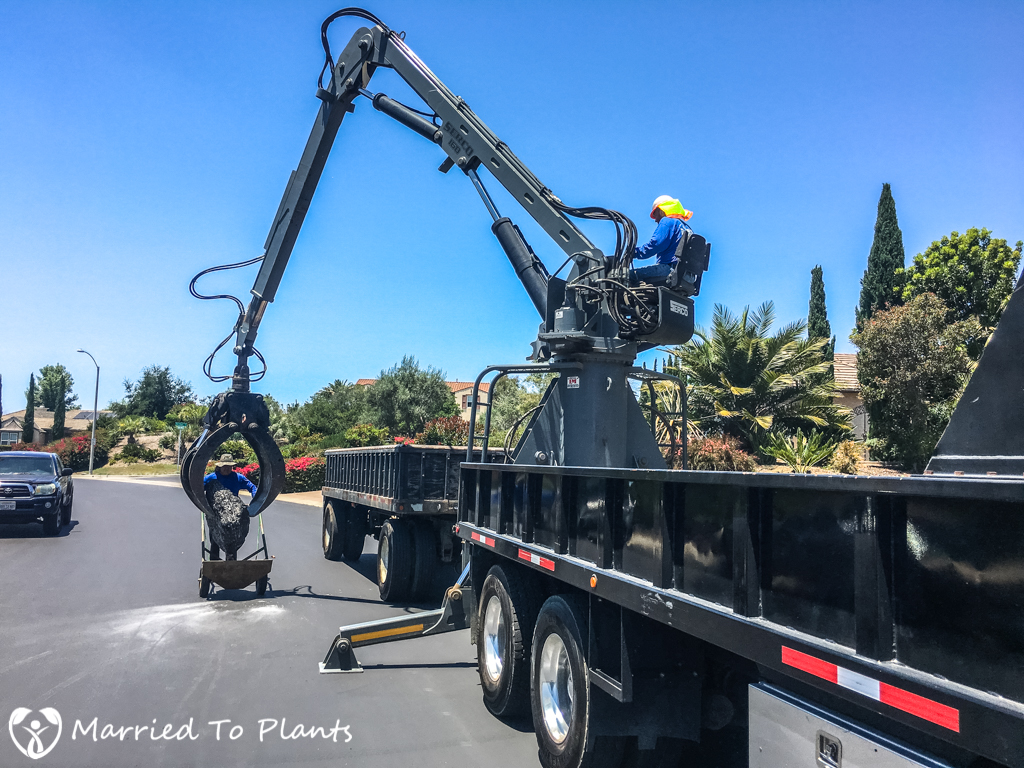
For those that frequent my blog, you might have noticed from photos that I like to place rock in the concrete work. So before pouring the concrete I had a bunch of boulders delivered by KRC Rock. I was pleasantly surprised by how low the price of large rock really is – even delivered. Rocks are key for any landscape design and I like to use a lot.
One issue with getting larger rock is that I can’t use the hydraulic claw in my back yard. So instead we had to use a tree dolly to move it. It is shocking how much weight a tree dolly can carry.
Below you see some of the rock that made it into the back yard via tree dolly. Some of these stones would soon be imbedded into the move strip or pathways.
Just before we can pour the concrete, rebar had to be set. The use of rebar is necessary to carry the tension in the reinforced concrete. In other words, rebar helps control concrete cracking due to shrinkage cracks from curing or from temperature changes.
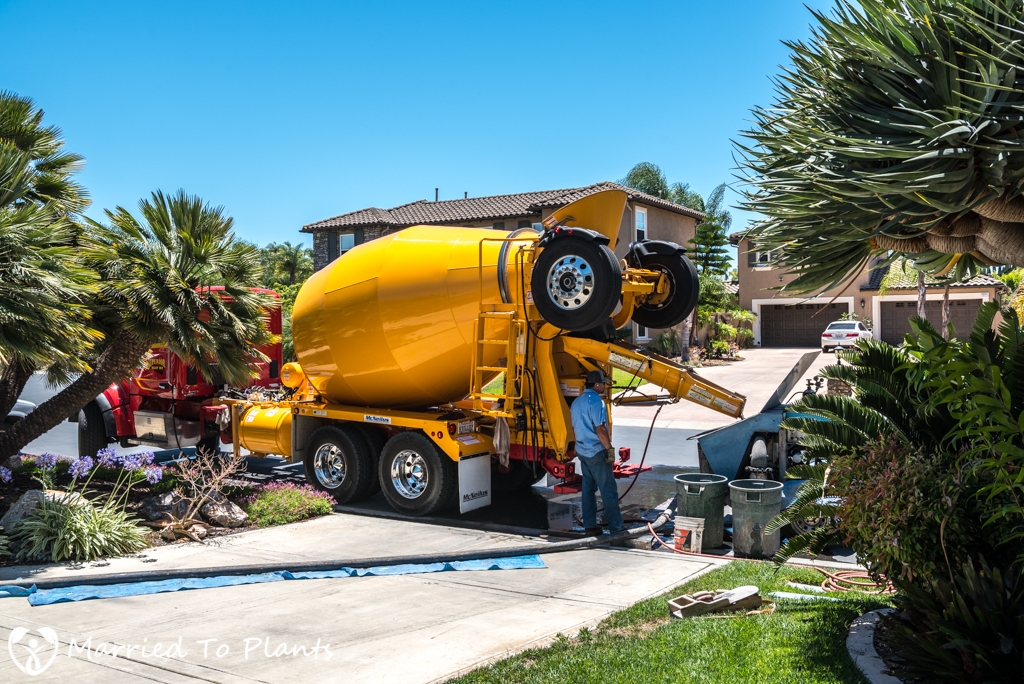
With the concrete truck and pumping station in place, it was time to pour.
The concrete is pumped through a hose. It is a messy job, despite the guys’ best efforts. The hose had to be long, as it had to reach all the way into my backyard.
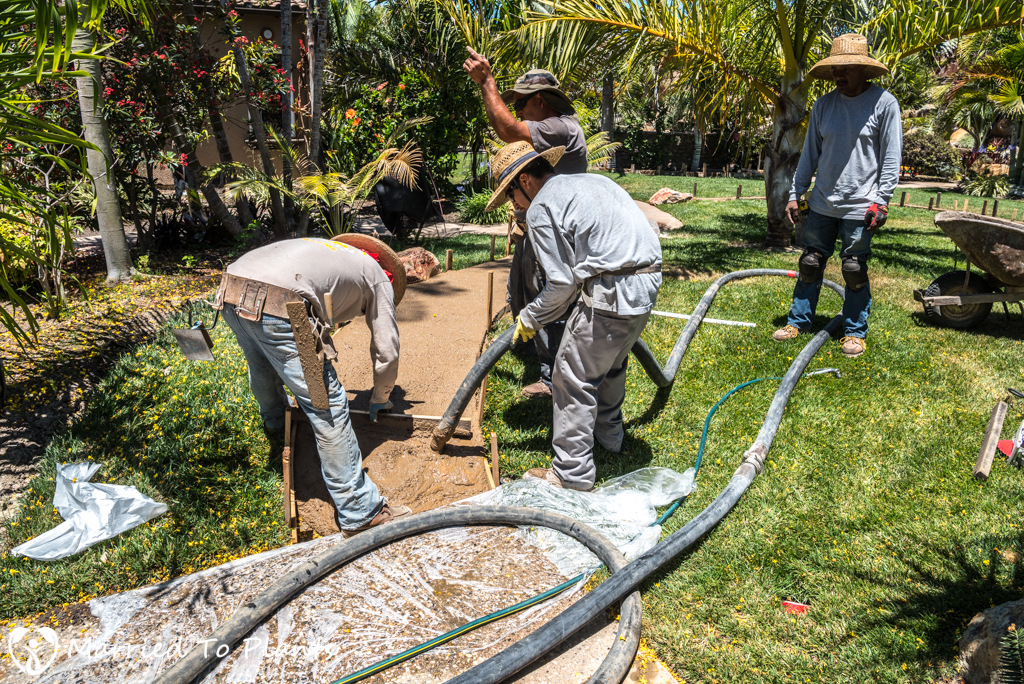
Below you can see the forms being filled with concrete. Right after the concrete is poured, it is leveled in the forms. After it begins to dry a little, the guys come back by to smooth it out.
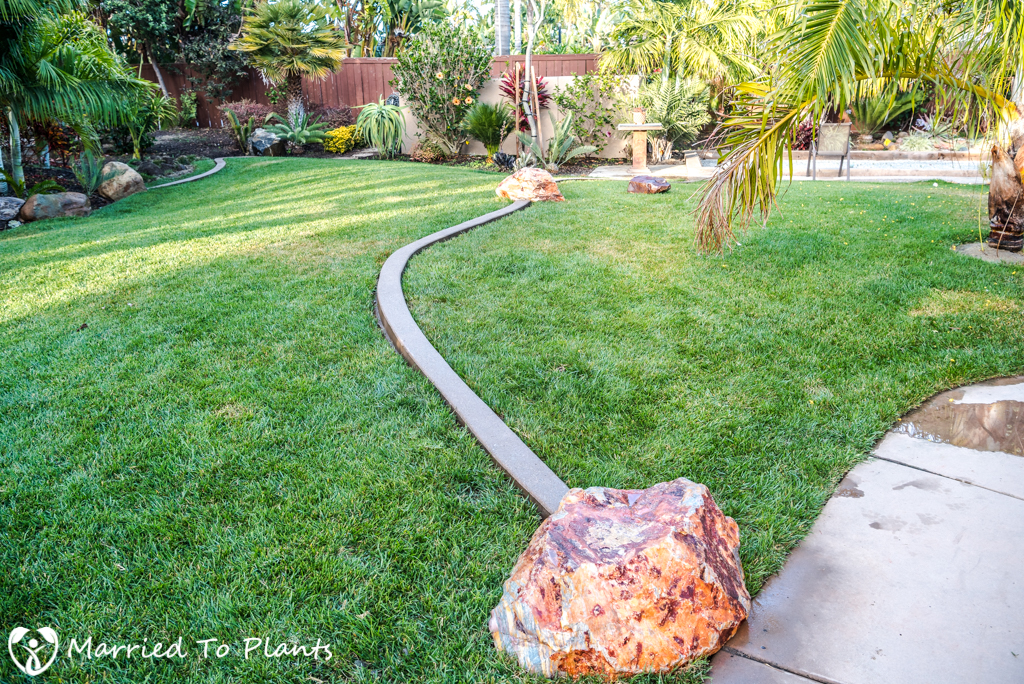
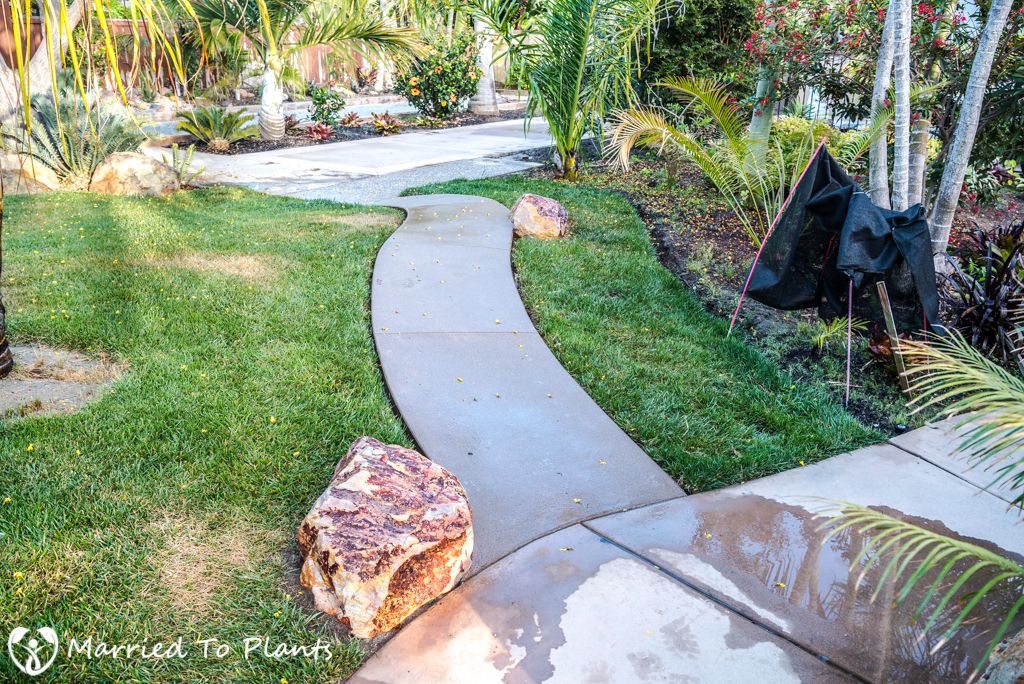
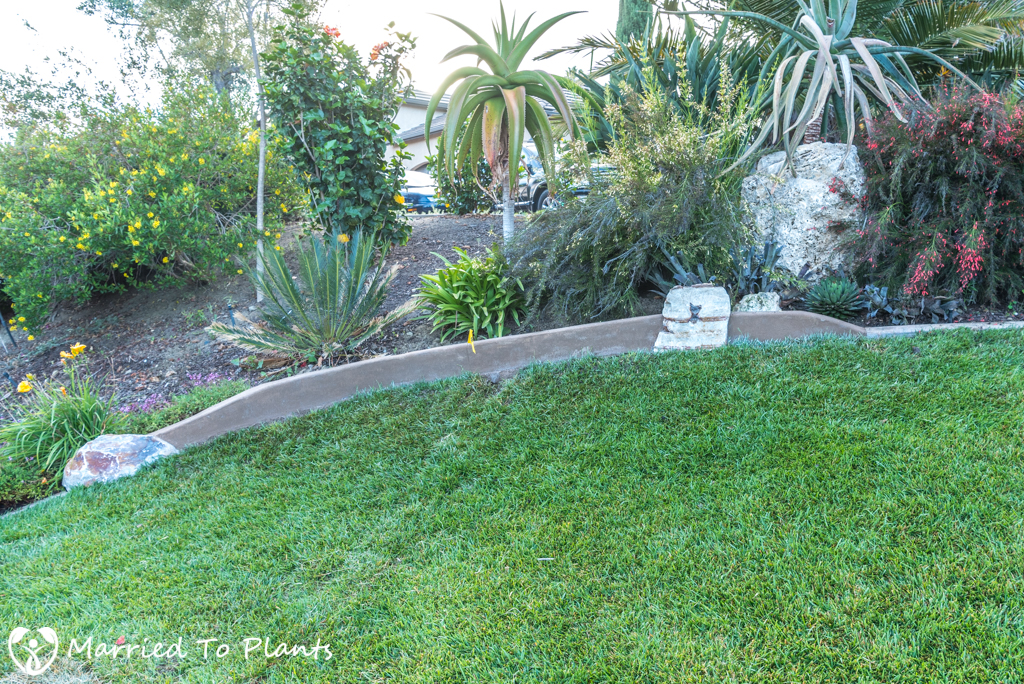
After the concrete is dried, it is acid-washed to match the old hardscape texture. Here is an example of a completed mow strip and a pathway. You can see how I imbedded the boulders into the concrete work. Aesthetically, it really makes a big difference.
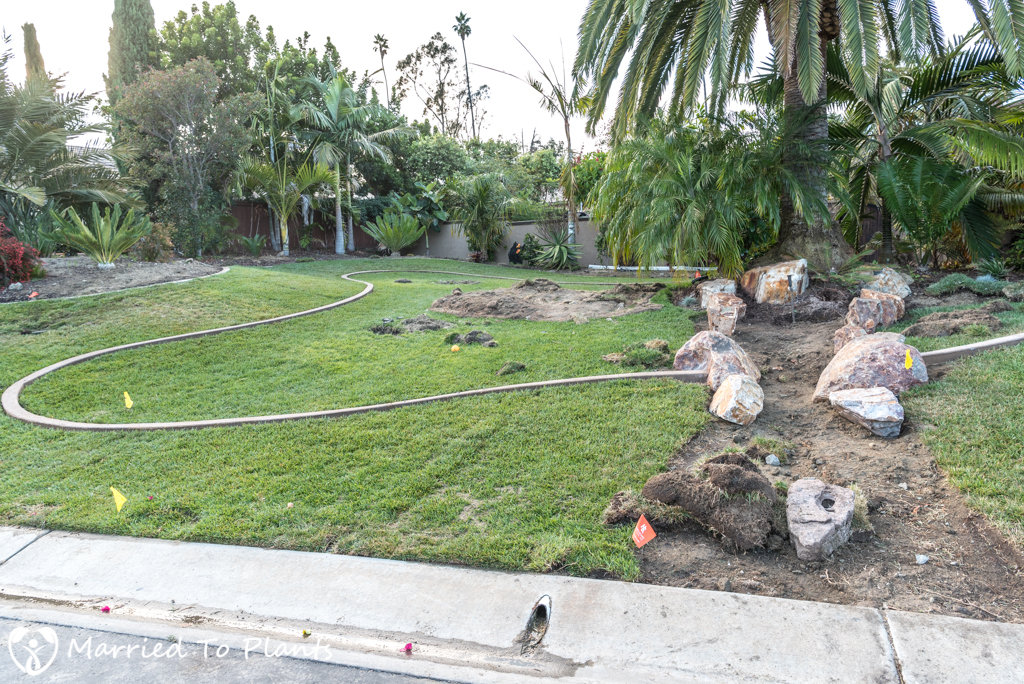
The longest mow strip that had to be poured was in the front yard. I decided to break up the strip by using two large boulders. In that dug-out area you see that cuts through the mow strip, I decided that I want to build a dry creek bed. That will be the subject of next week’s post.
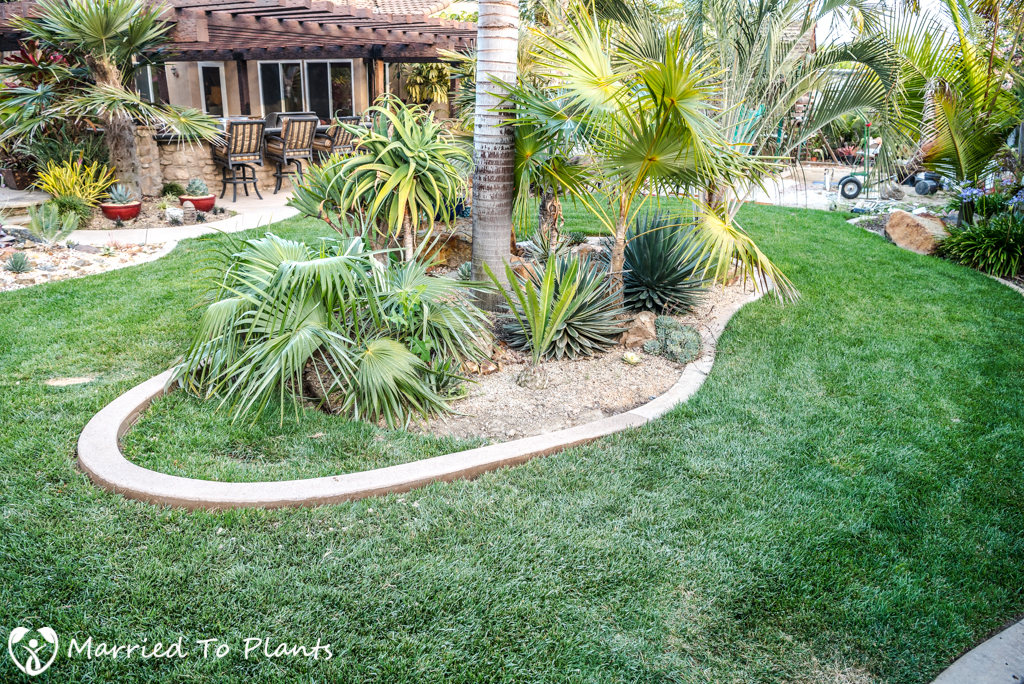
You can see that the guys did a great job of matching the color and texture of the old mow strips. This photo below shows where I extended the size of a planter bed a little and where the new mow strip is tied into the old. I had to extend this strip because that palm tree you see was growing into the old strip and the leaves were blocking the sun from the grass. So the grass was dead under it. The palm tree is a Brahea moorei. It doe not develop a vertical trunk, so it will keep crawling along the ground.
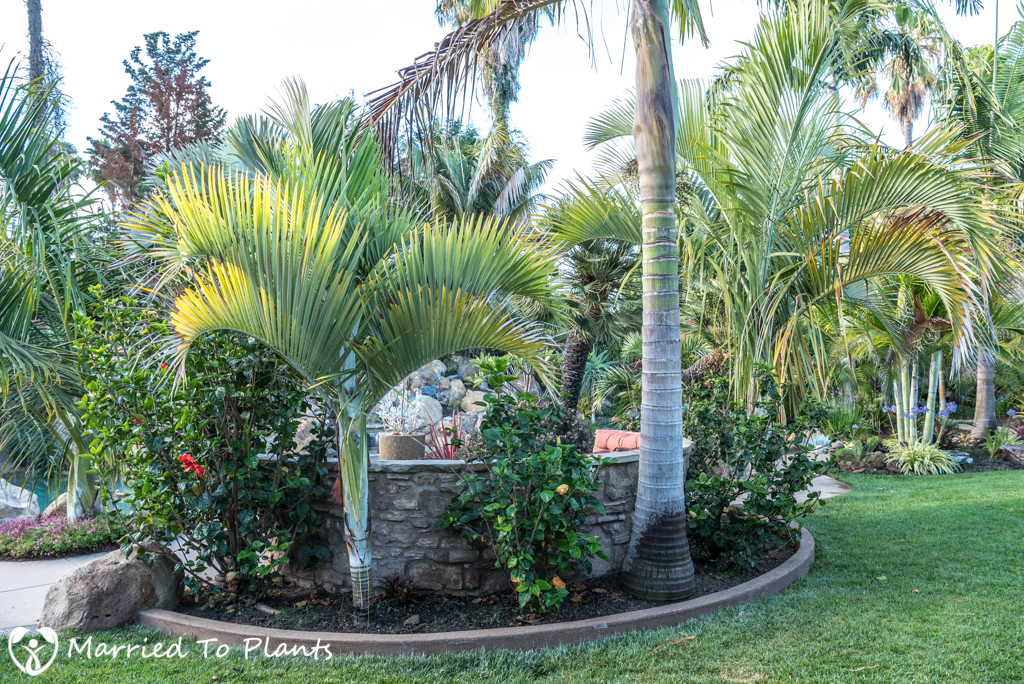
This mow strip below was poured in the same place as the old one. Because those palm trees were getting so big, their roots were pushing the dirt up above the old strip and were starting to push over the old strip. So I decided to smash out the old one, add about 6 inches of dirt where it was, and pour a new strip. These extra 6 inches will allow all those roots to continue to grow out into the grass.
This was another area where I smashed out the old mow strip. This new one-foot-tall mow strip will keep all the dirt from falling into the grass – which was happening before.
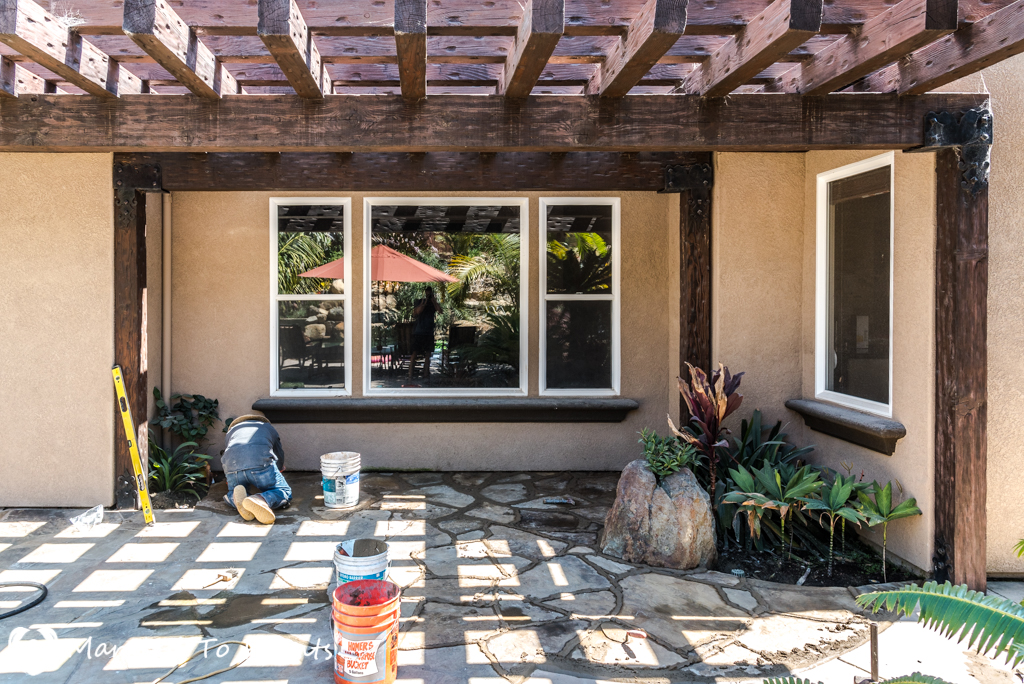
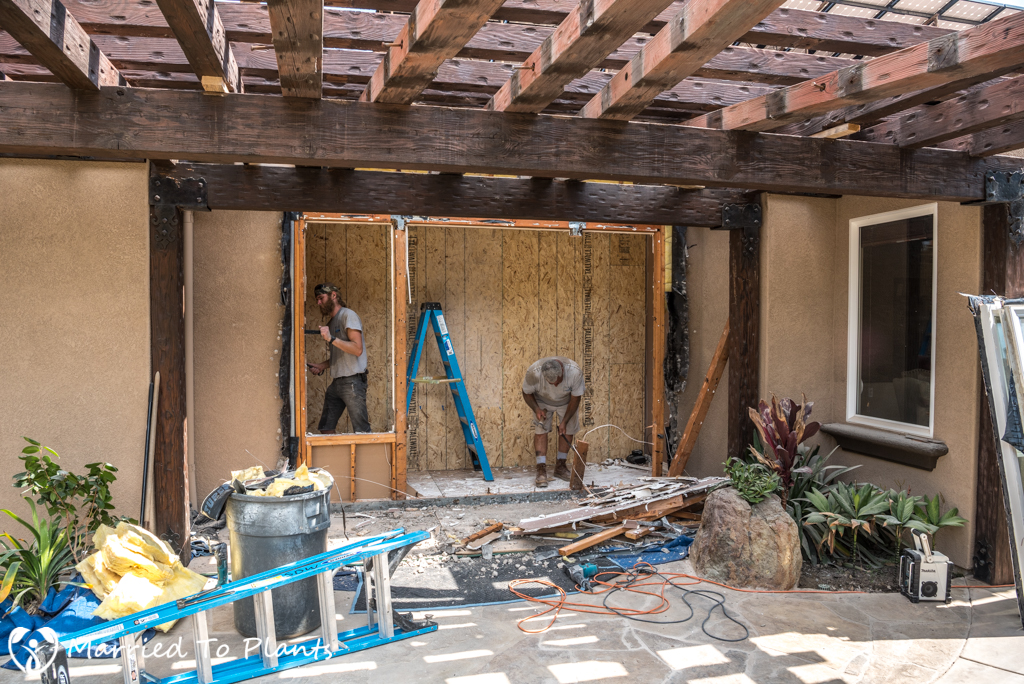
As I wrote about last week, my wife wants to put in some La Cantina folding doors in our formal living room. Because of this ,I had to remove all the plants I had in this area of my yard. We had to extend the size of the flagstone patio all the way up to that bank of windows.
At the time of writing this post, here is where we stand on the doors: I fought my wife for many years on doing this project. Since she doesn’t read my blog (seriously), I am free to admit that she was right all along and we should have done it sooner.
With the extra flagstone that was left over, I had a platform built to hold the pots shown below. I couldn’t put these pots in this location prior to these changes because the large boulder in the back wouldn’t allow it. With this platform, I was able to create a level surface on which to place them. As discussed last week, I love agaves in pots.
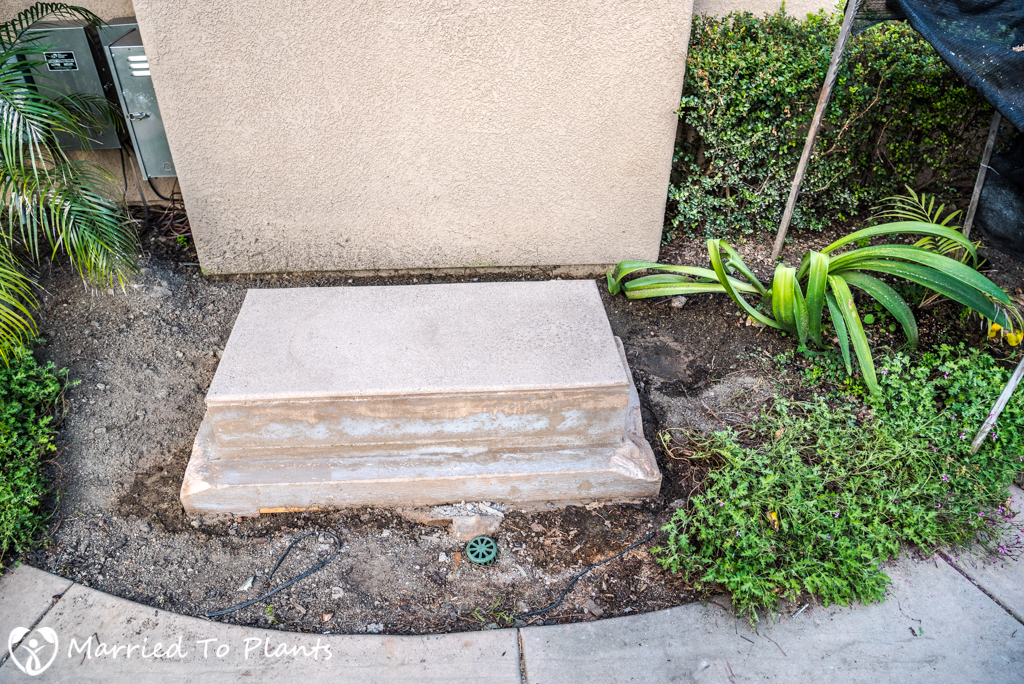
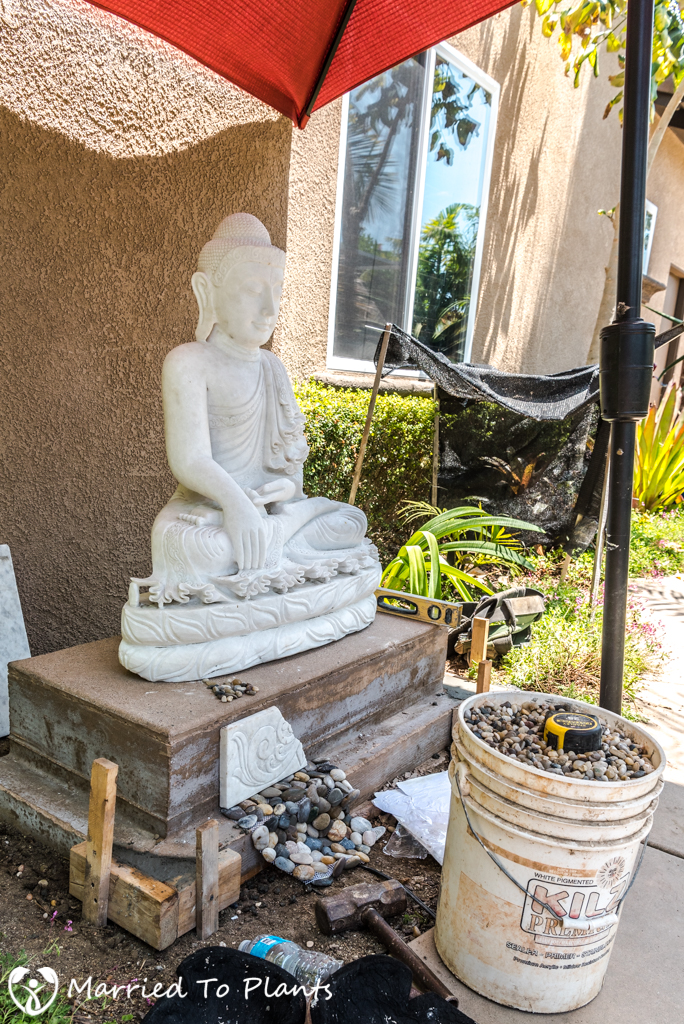
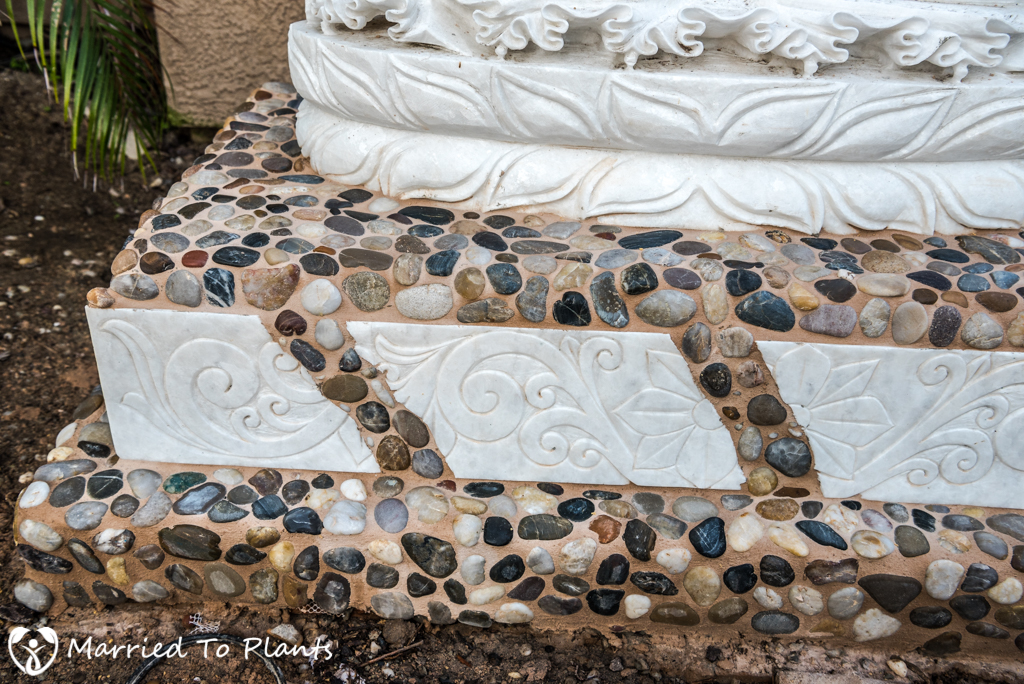
The last concrete work that was to be done was to make a platform to hold a statue of Buddha that I bought a few years ago in Myanmar.
I usually place statues right on the ground, but this one is much more formal and I felt it needed to be elevated.
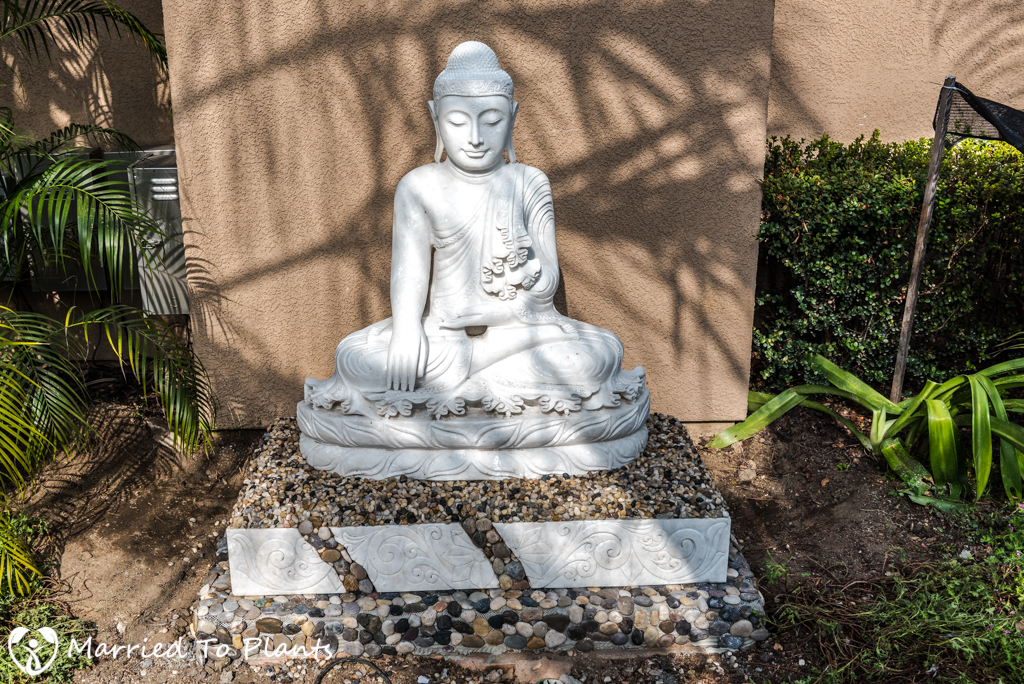
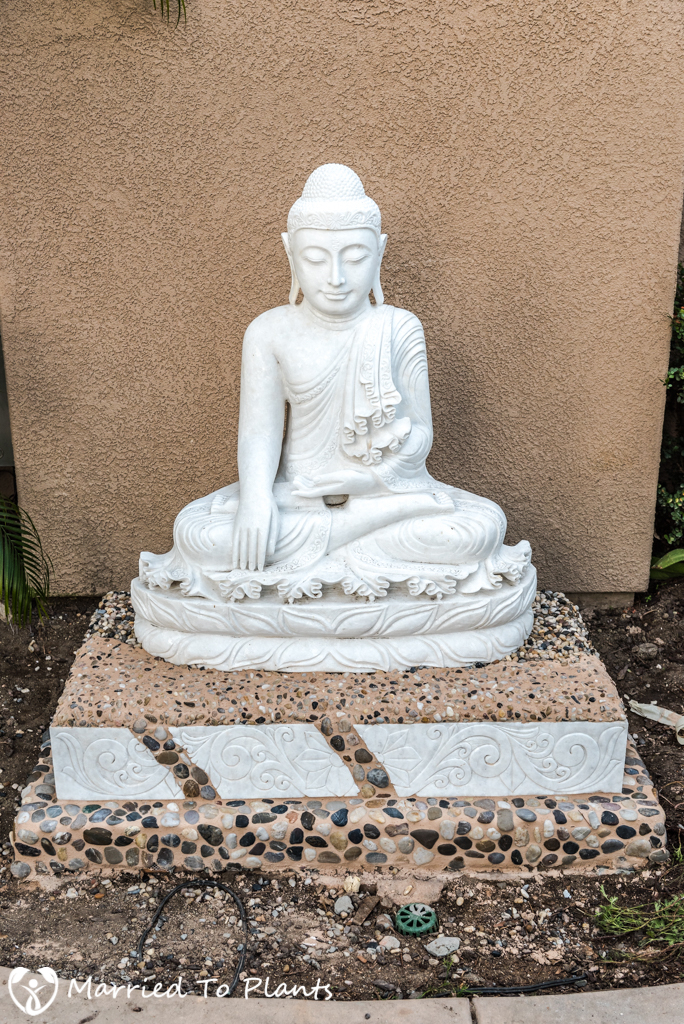
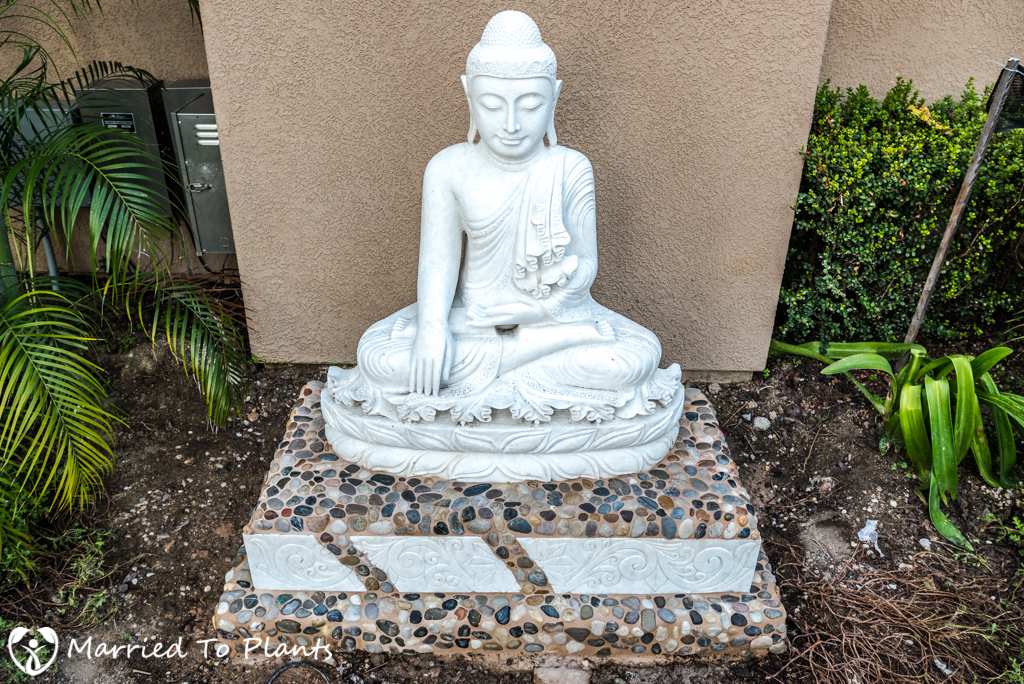
I decided that I wanted to use pebbles on the platform. What I had in my mind was hard to explain to the concrete guys. This was new to them. We went with smaller pebble on top and larger ones at the bottom.
The first attempt did not turn out how I wanted it. Those little pebbles just got buried in grout and it looked too busy.
The second attempt came out closer to how I envisioned it once we went to the larger stones. I still think the grout color was too light and the stones are busy looking, but with some plantings breaking it up, I can live with it.
While doing the concrete work, it seemed as though I did much more than what I realized we actually did while writing this blog post. So while the amount of actual concrete used might be smaller than I thought it would be, its overall impact in the garden will be huge. Especially once all these new planter beds get filled out with material. Those results will be written about at a later date. Next week I will show you a dry creek bed that my son and I built together.



Bad ass garden, work looks great.