This is the third and final update post tracking the progress of my large garden project. The next one I write will be to show the finished product all planted out. However, in order to get to the planting phase, I must first do some planter bed preparation. You’ll need to go back to the first post to see that most of the new planting areas were once grass. It takes some work to turn a lawn area into a plantable bed for aloes and agaves, for example.
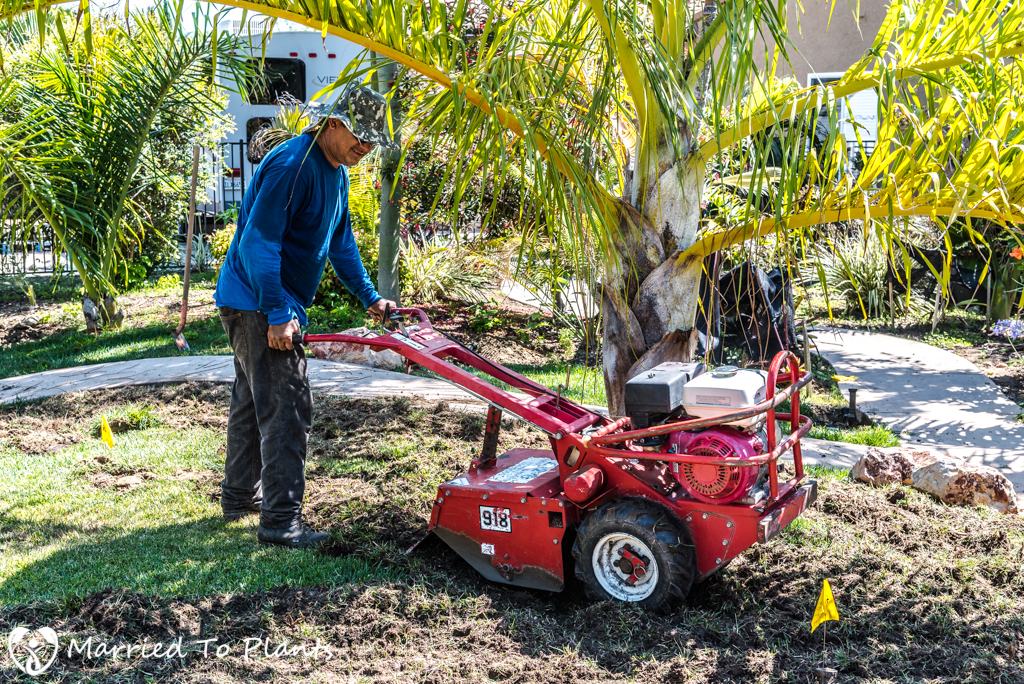
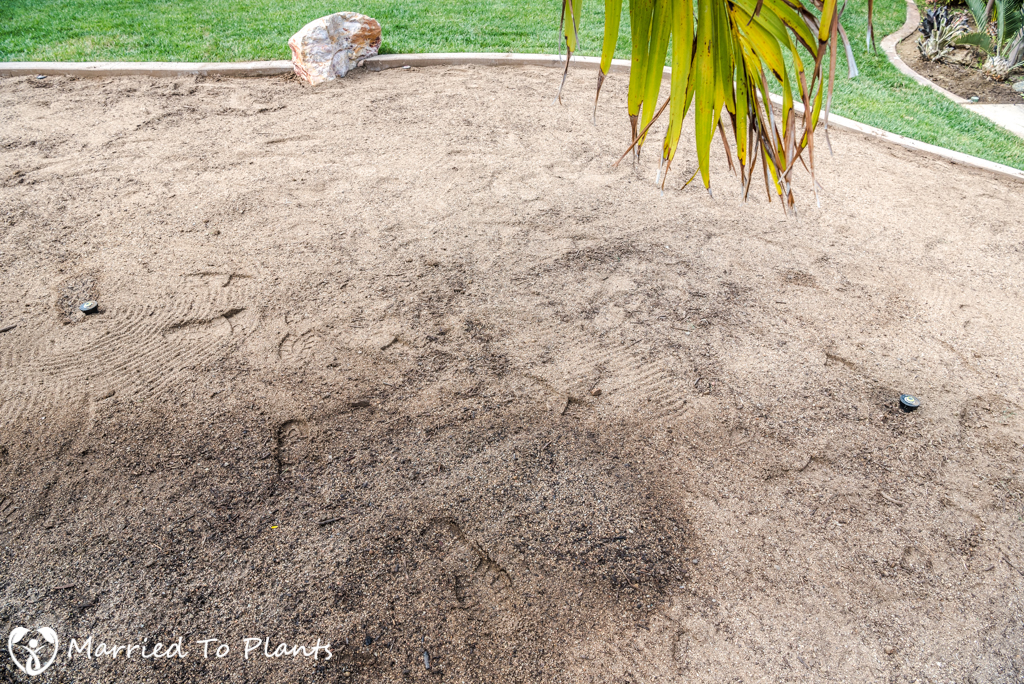
The first step towards planter bed preparation is removing the lawn and deciding whether or not you want to dig out or just kill the grass. Citing cost, I chose to use a rototiller to break up the lawn. Rototiller rental is much cheaper than paying someone to cut out the grass and haul it away to the dump. While the rototiller is excellent and breaking up the lawn and creating a very organic soil, it will not kill the grass. It will grow back if left alone. Most people like to use Roundup or some other herbicide to kill the grass but because I was planning on putting at least three inches of new dirt over the top of the rototilled layer, I wouldn’t need to.
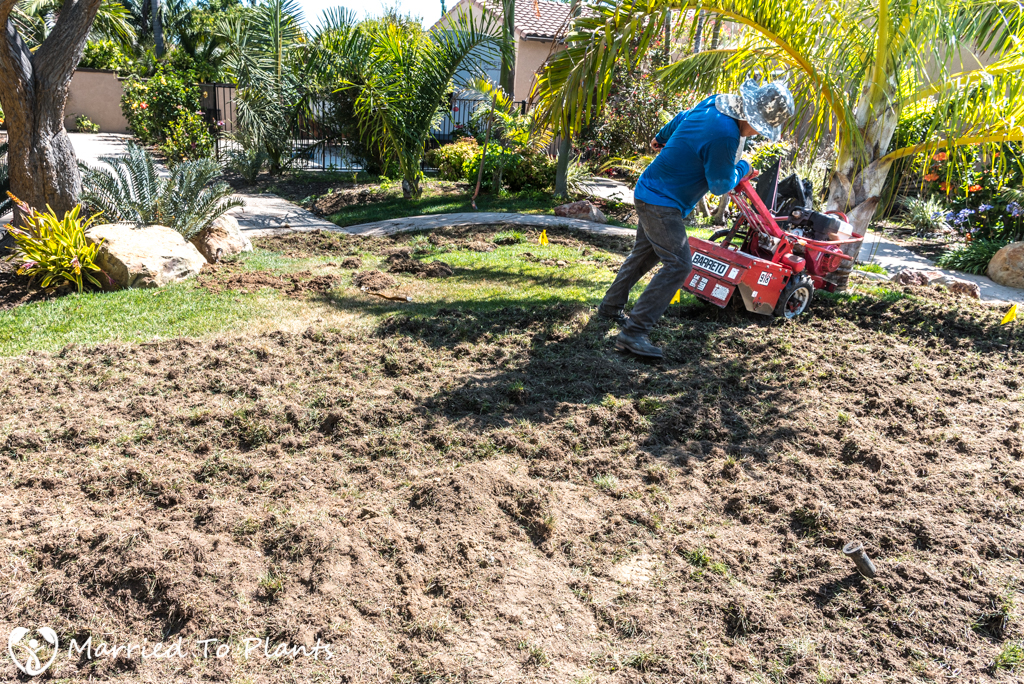
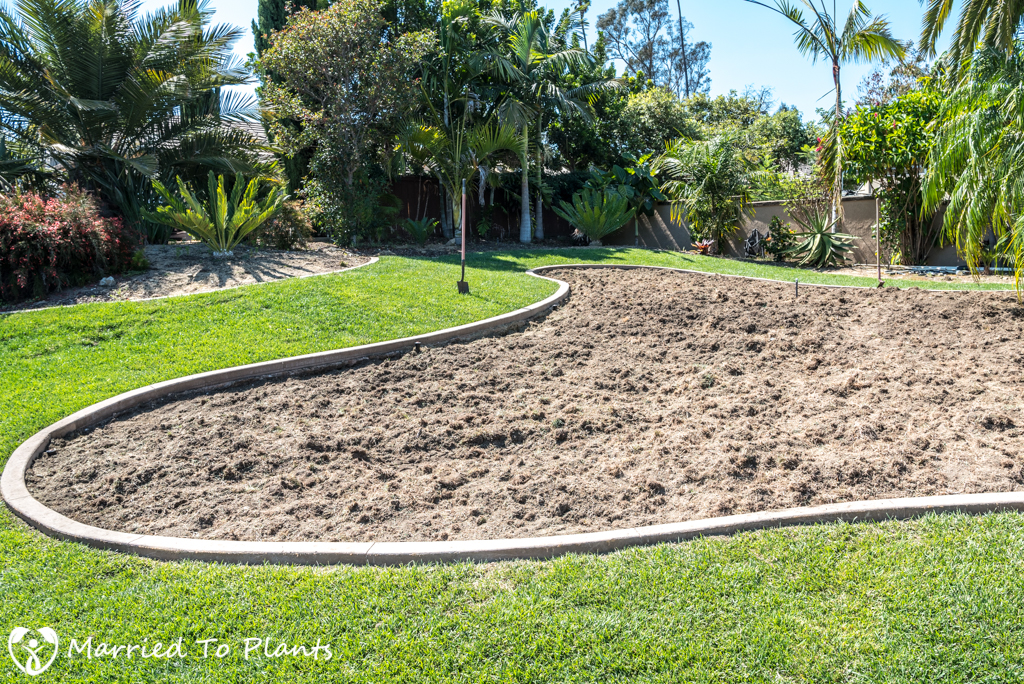
Once finished with the rototiller, it already looked like a completely new planter bed.

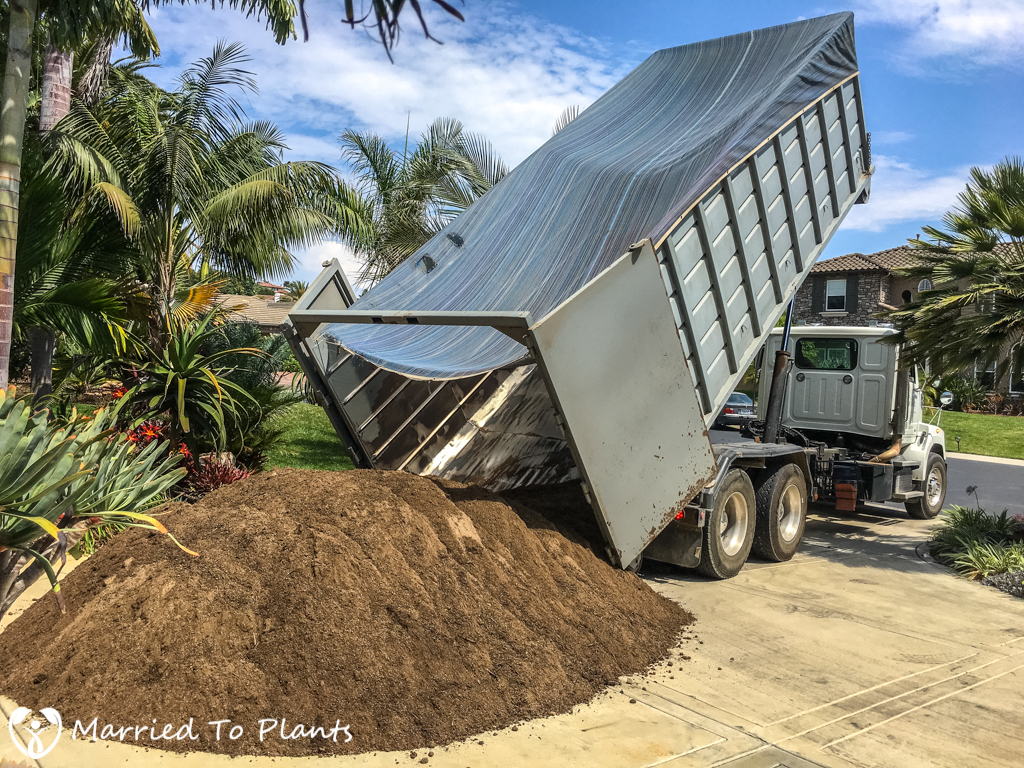
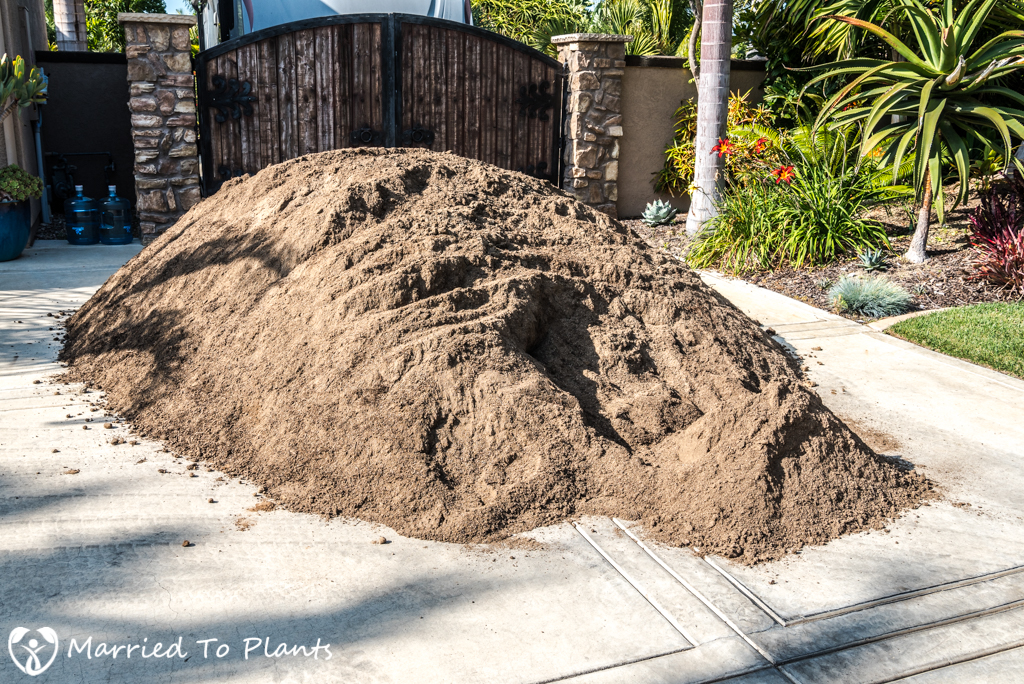
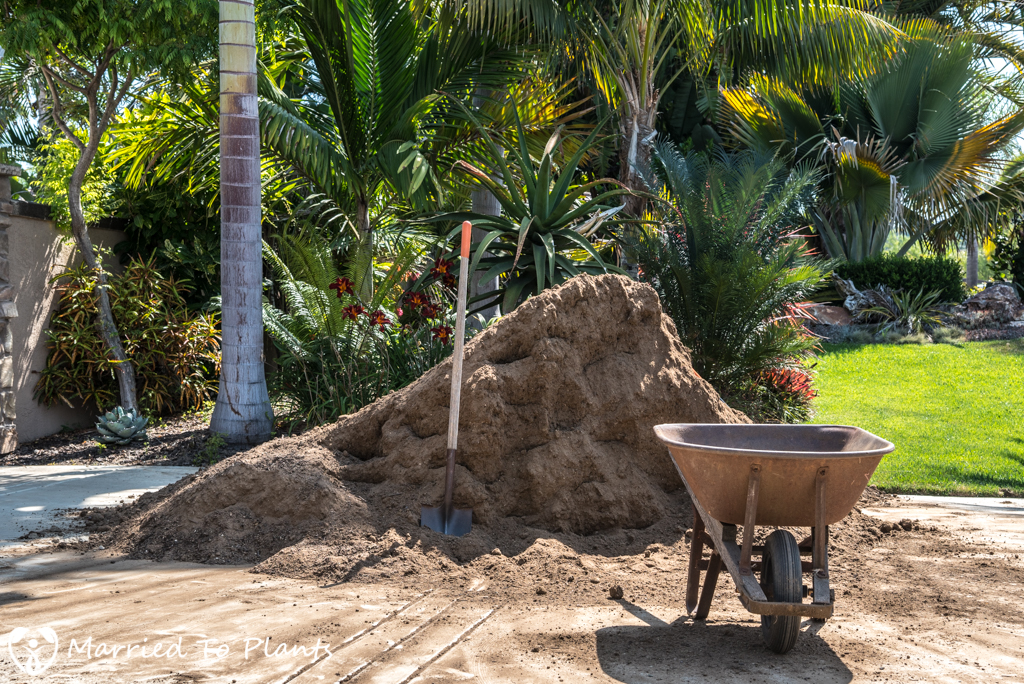
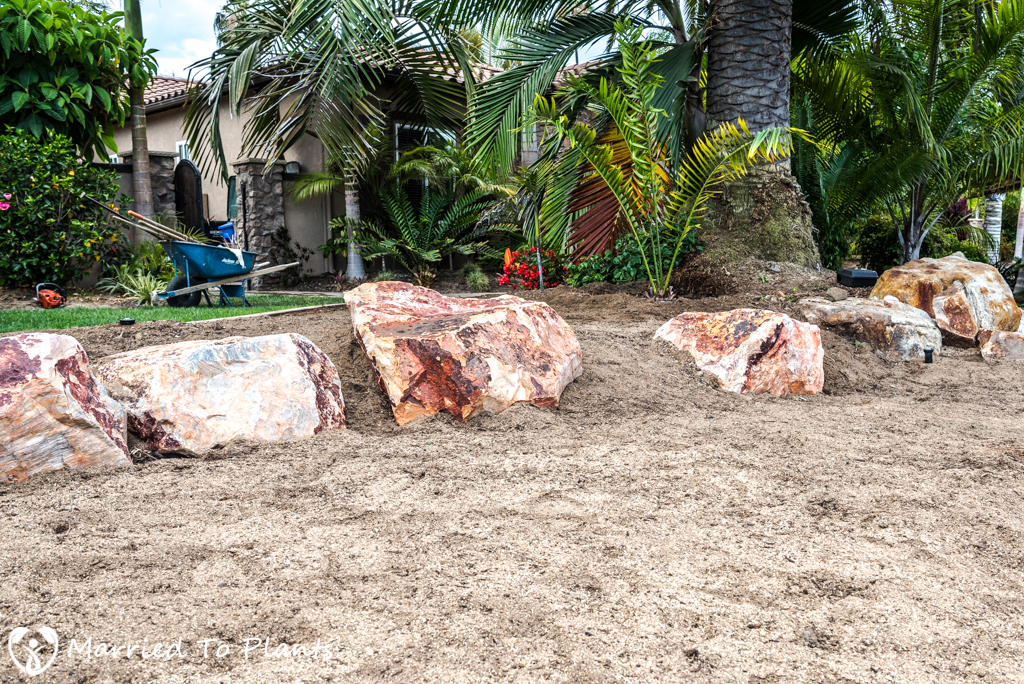
The next step was to bring in some boulders for the new planter beds. This was discussed in my last two blog posts about the concrete work and dry creek bed. Once the boulders were in place, I could order the soil delivery from Agriservice in Oceanside. The first delivery would be 9 yards of Bioswale mix (50% sand, 30% topsoil, 20% humic compost). This is a free-draining mix that I would add to all the new areas that will have my cycads, aloes and agaves planted in them. The 9 yards plus delivery cost me about $450. So this stuff wasn’t cheap.
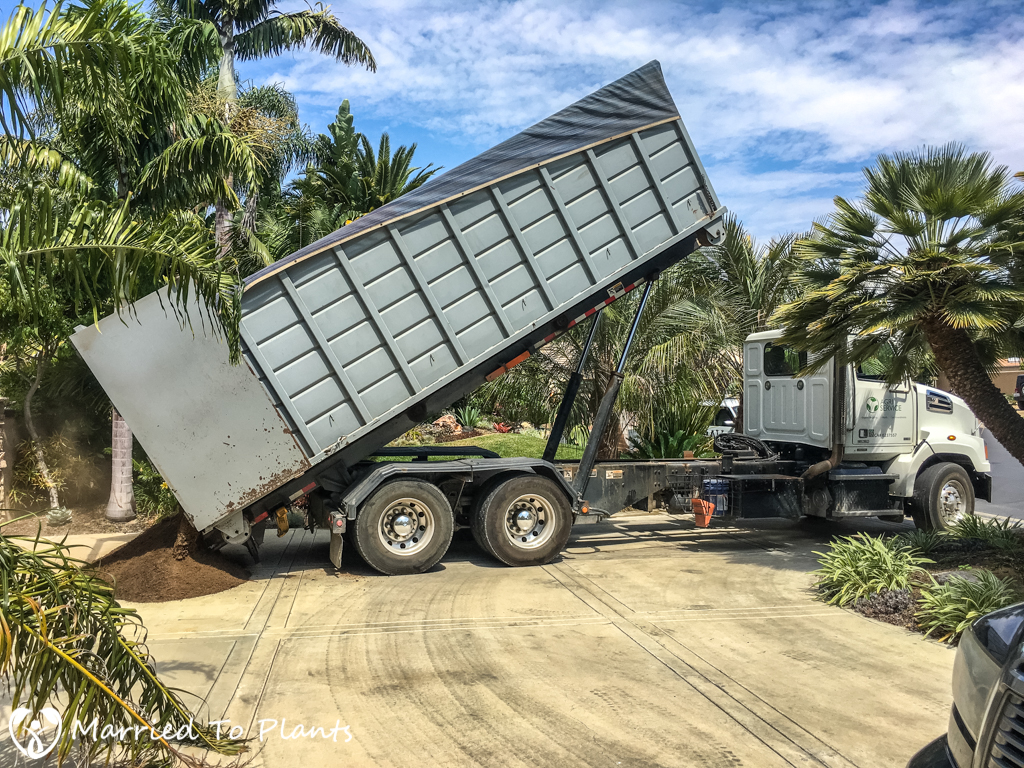
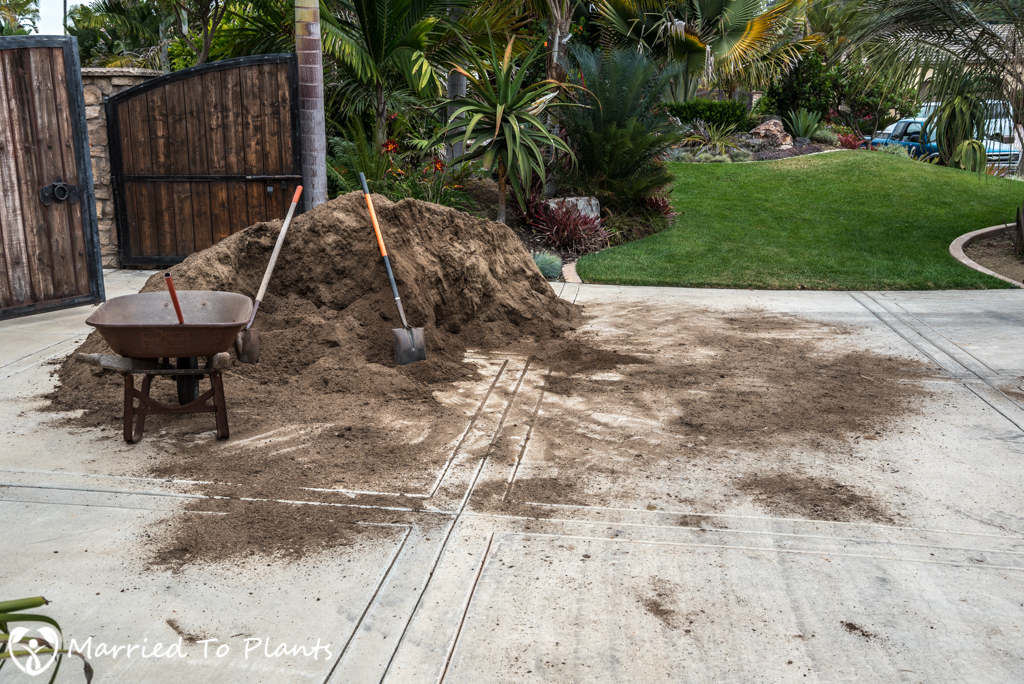
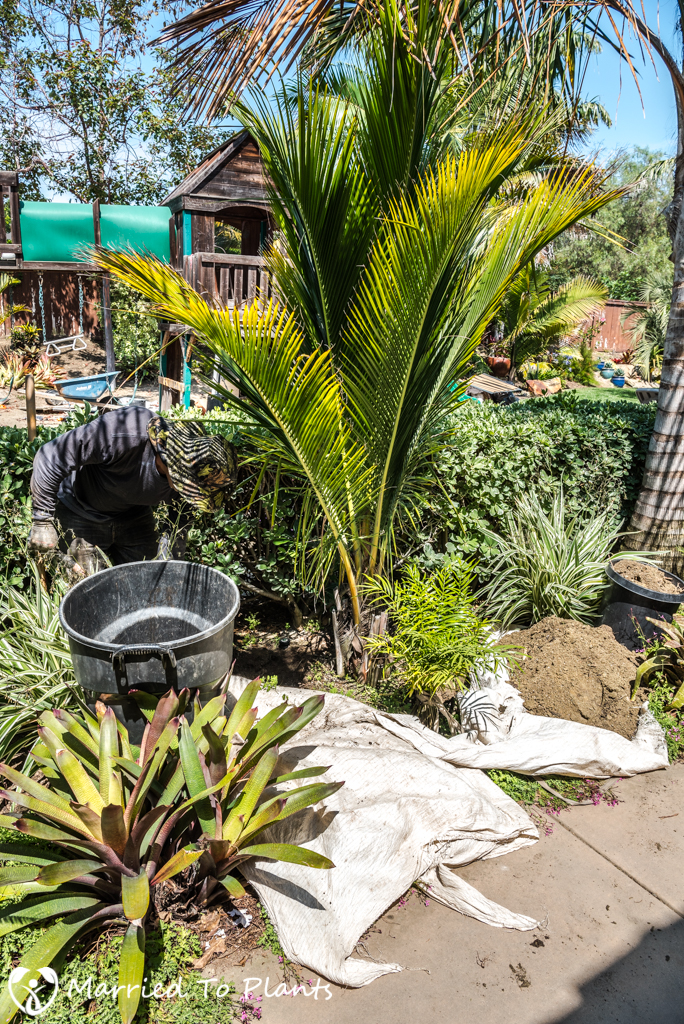
It took my two garden helpers about five hours to move all this soil. These two guys have been great for me over the years and work their butts off. Even in the heat and humidity we have been experiencing here in Southern California recently.
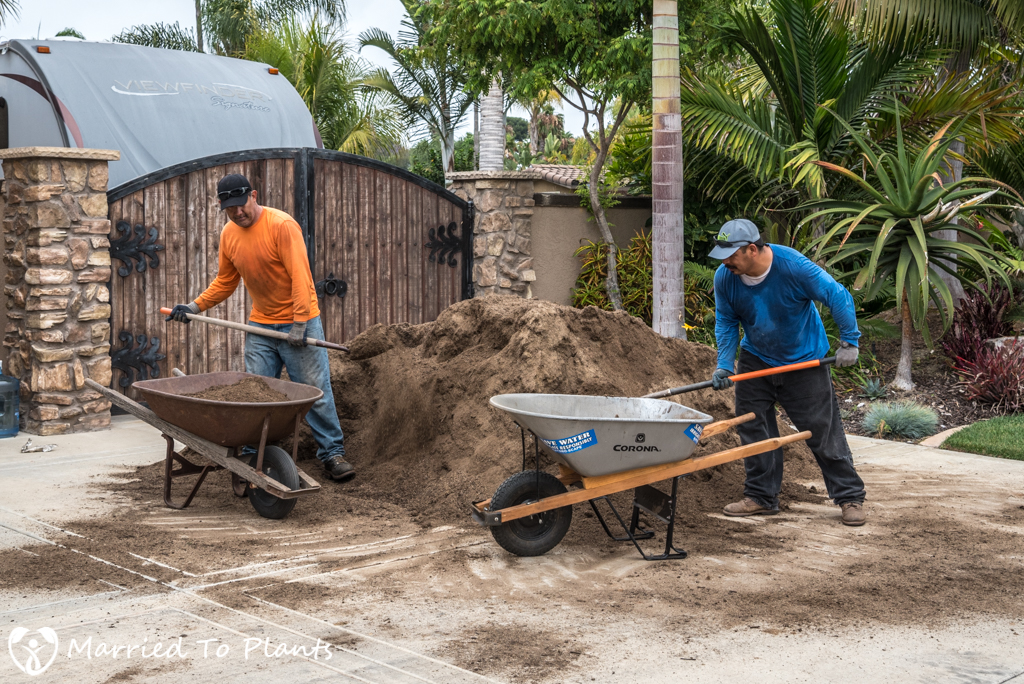

The Bioswale mix was piled right up to the sides on the dry creek bed and other large boulders. In the front yard, I put down about a 4-6 inch layer over the rototilled grass.

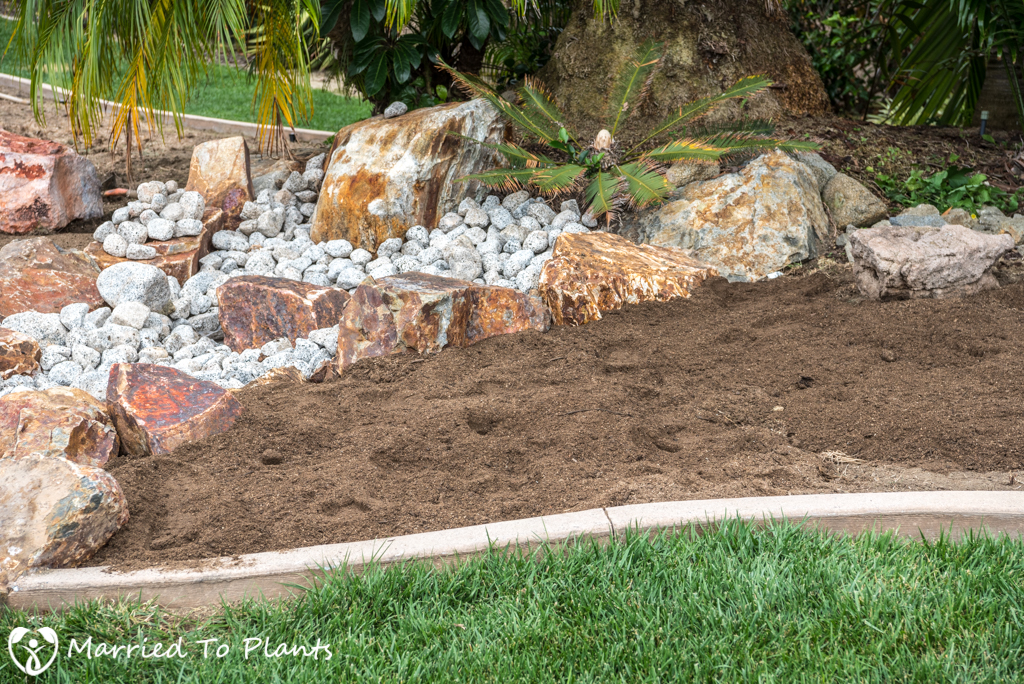
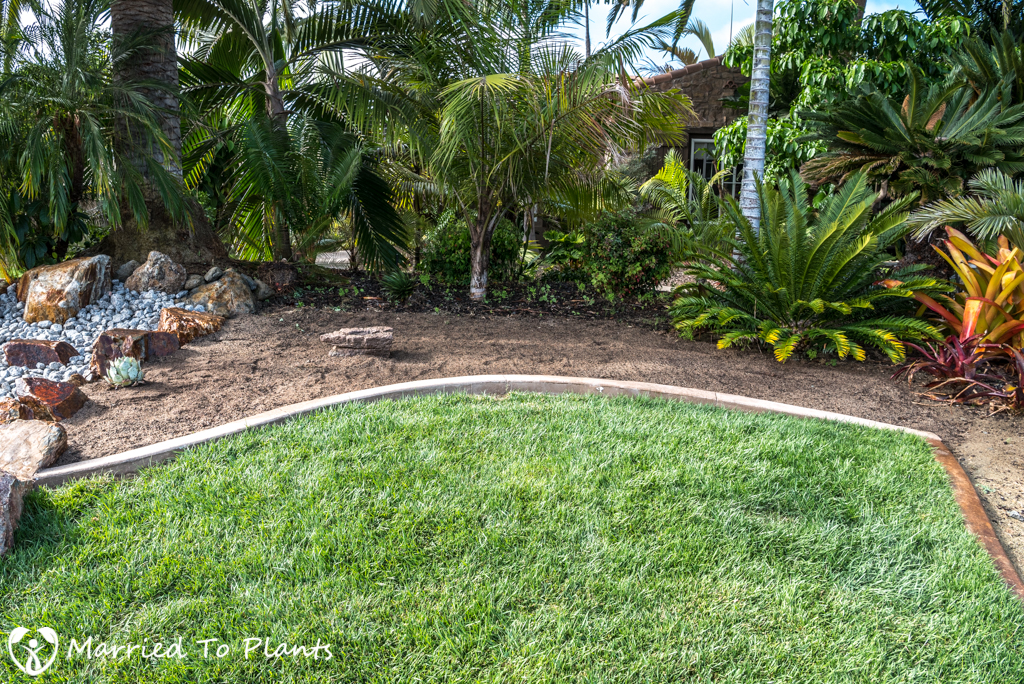
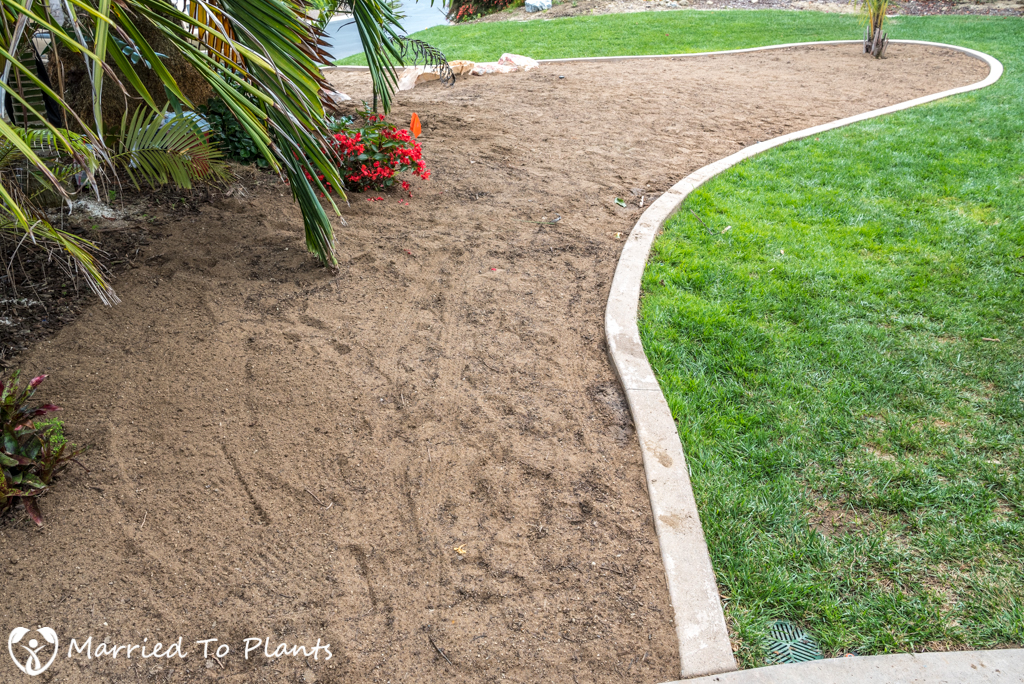
After seeing the soil all smoothed out, I was very excited looking at all that new planting area to work with. In this bed below you can see where the new area starts and where the old mow strip location was. The old mow strip ran along the area where the mulched part (dark brown area) of the photo below meets the new Bioswale mix.
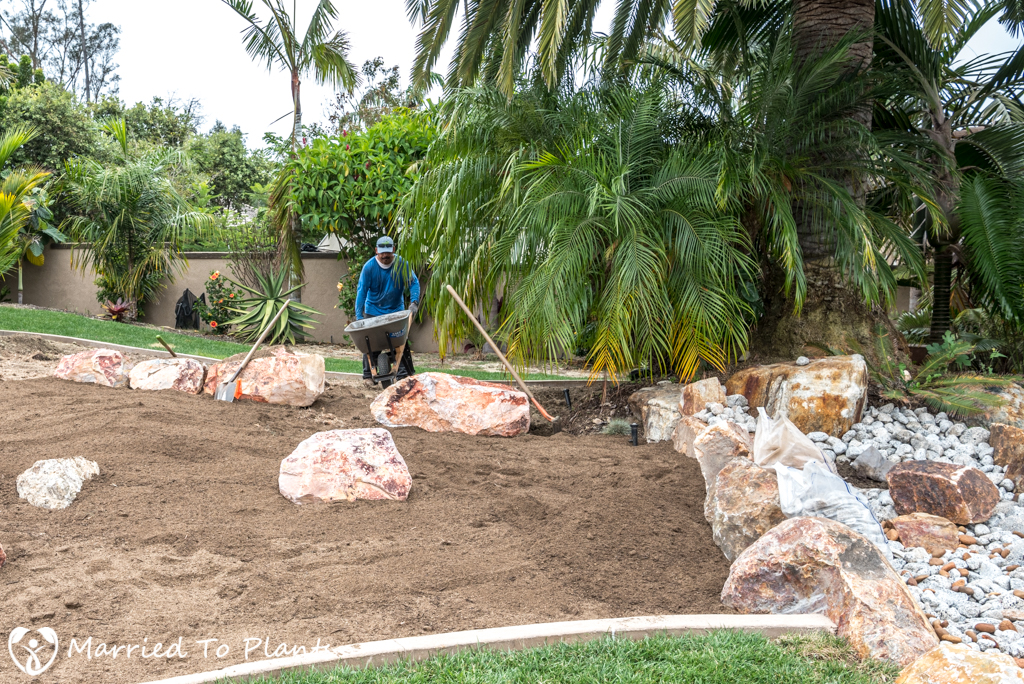
I still had about half the Bioswale mix remaining, which I could use in the back for my new cycad garden.
I ran out of the Bioswale mix before I could get the layer to about 6 inches thick like planned. Instead, the cycad bed only received around 3-4 inches of soil. Still plenty to ensure no grass will punch through from the stuff I used the rototiller on.
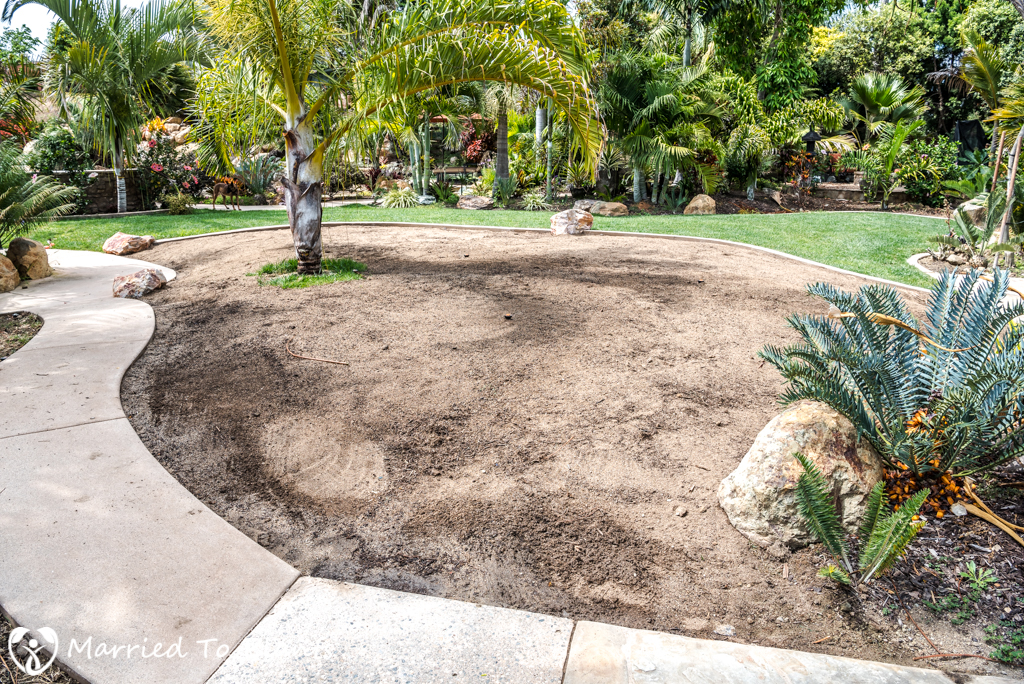
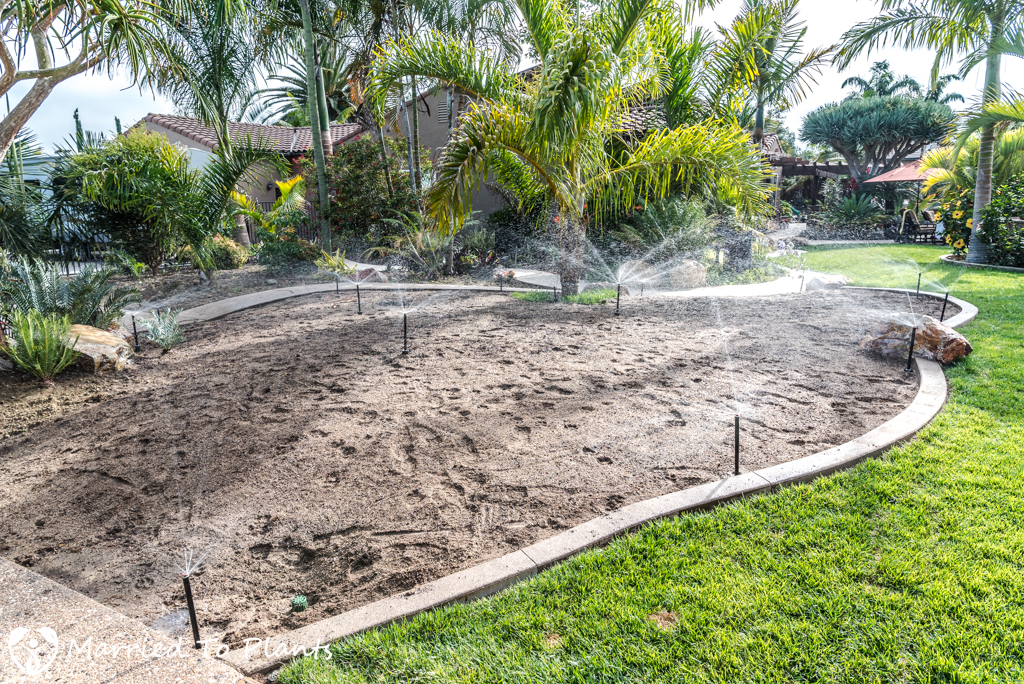
With the Bioswale mix down and raked nicely into place, it was time to wet it down. Wetting the new soil down controls dust and helps compact it some. The first location to water was the future aloe and agave bed in the front yard.
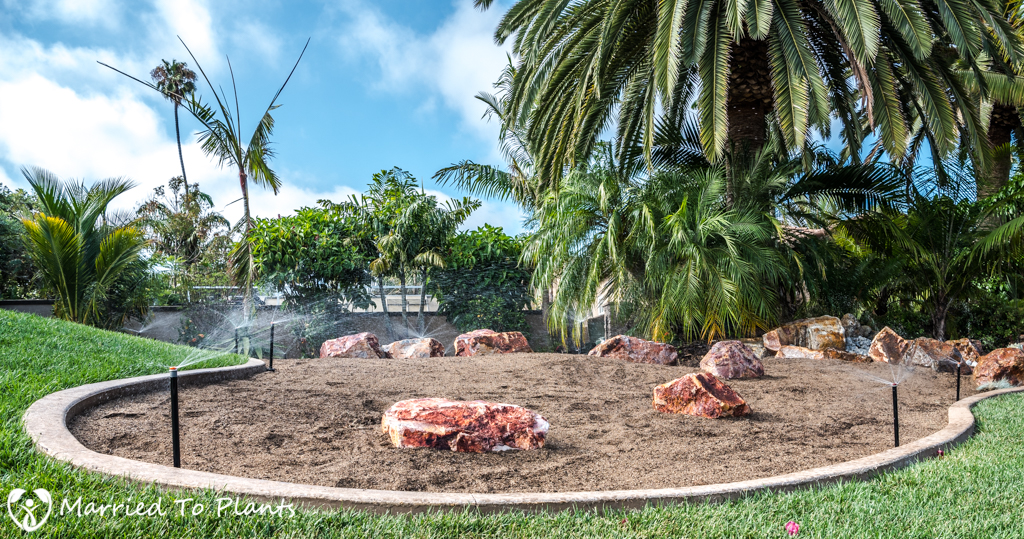
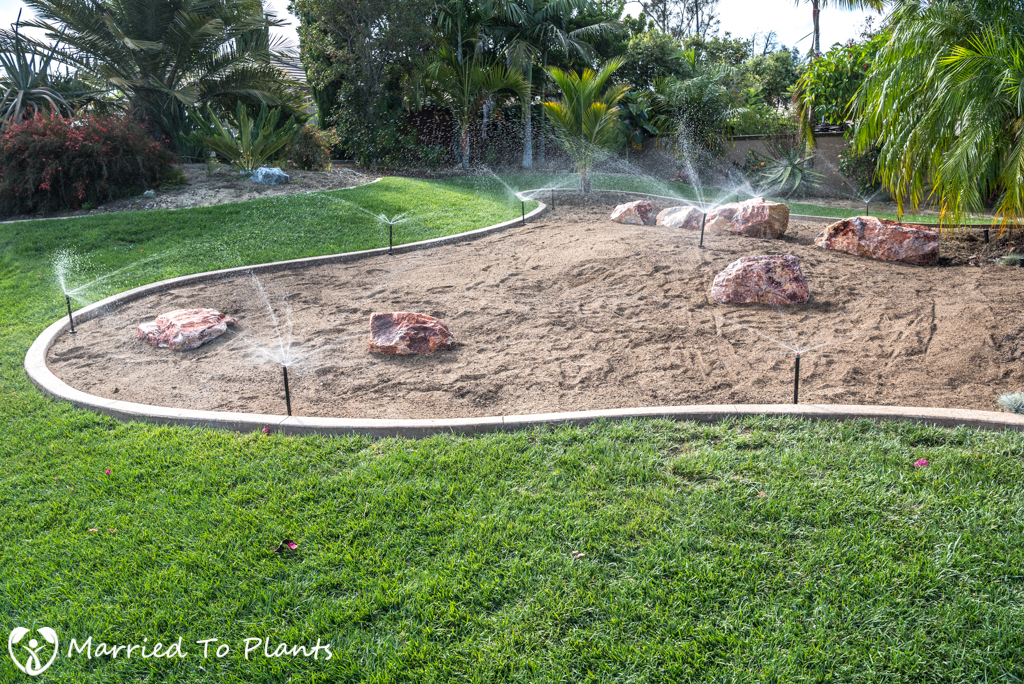

The popups you see in the photos above and below use Hunter’s MP Rotators for their nozzles. I have found these to be the best nozzles for most parts of my garden. For the sprinkler heads, I prefer the Rainbirds. They have always been more reliable for me in the long term. I also choose to pay the extra cost to use the larger 12-inch models.
Time to water in the Bioswale mix in the backyard. I think I am most excited about planting this area out, as I have been sitting on some cycads for this new garden for many years now. They have practically been begging me to put them into the ground.

For the next round of soil that would be used for the palm bed and some other smaller beds I created during this large garden project, I went with a cheaper option. The second soil delivery would be 9 yards of basic topsoil. It was about $150 less expensive than the Bioswale mix.
The topsoil is a thicker medium and far less draining than the more expensive Bioswale mix. However, it is a better choice for the planter bed preparation in the areas that will be used for planting tropicals.

Here is the topsoil all laid out and ready to be watered down.

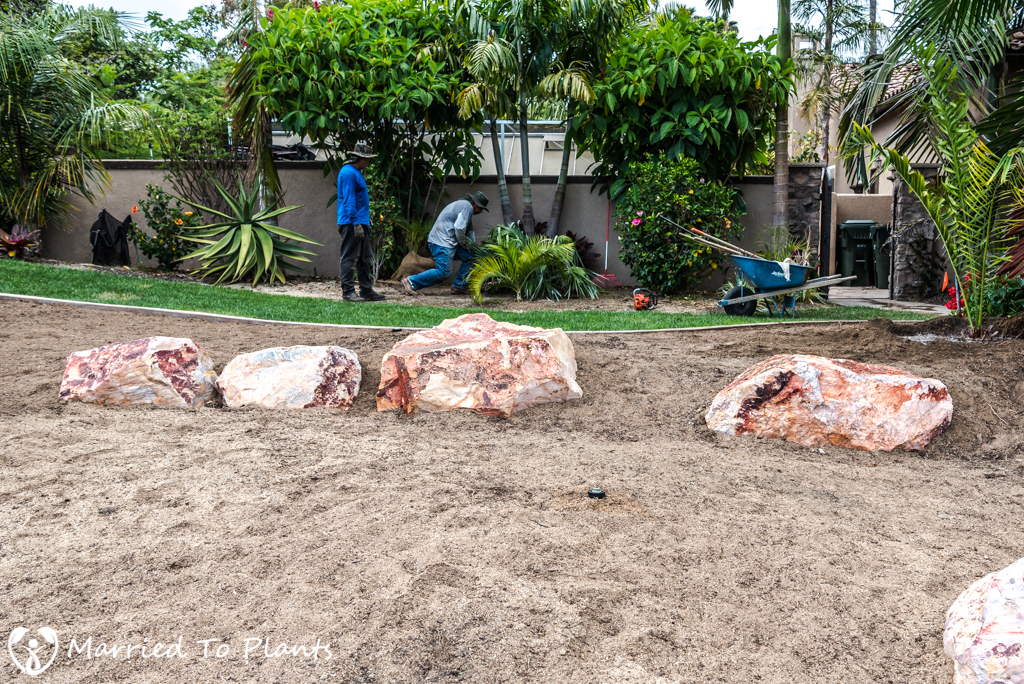
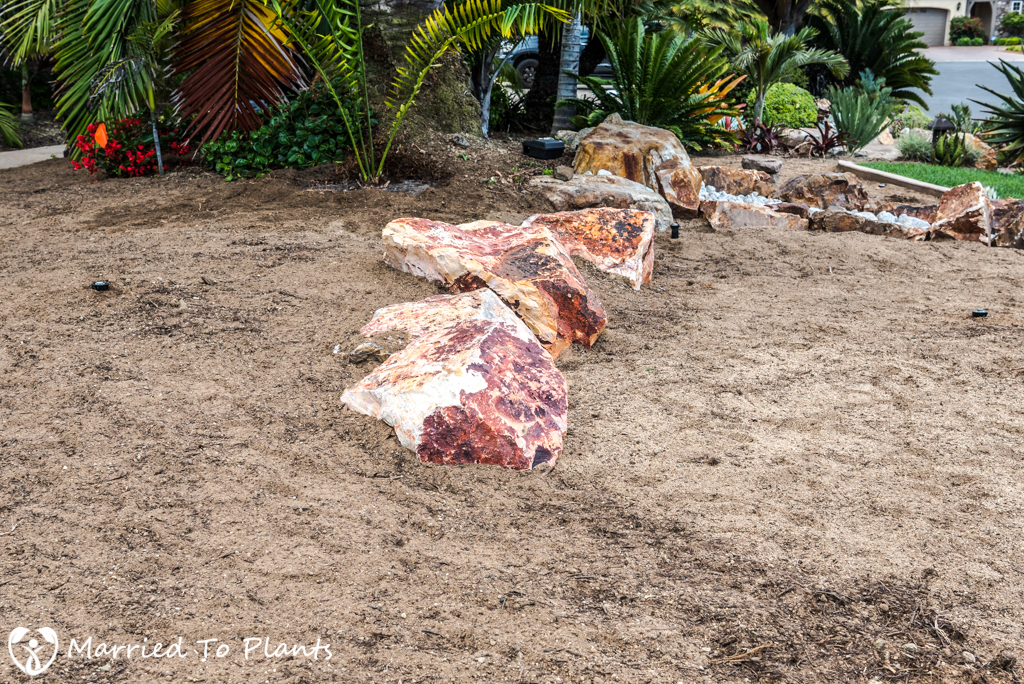
As a divider between the planned aloe and agave section at the front of the new bed and the more tropical area at the back, I used four large boulders. I piled up the tropical area a good foot or more above the front of the bed with the topsoil. The large boulders used in the planter bed preparation help to hold most of the topsoil back. This mound in the back gives the entire planter bed more dimension.
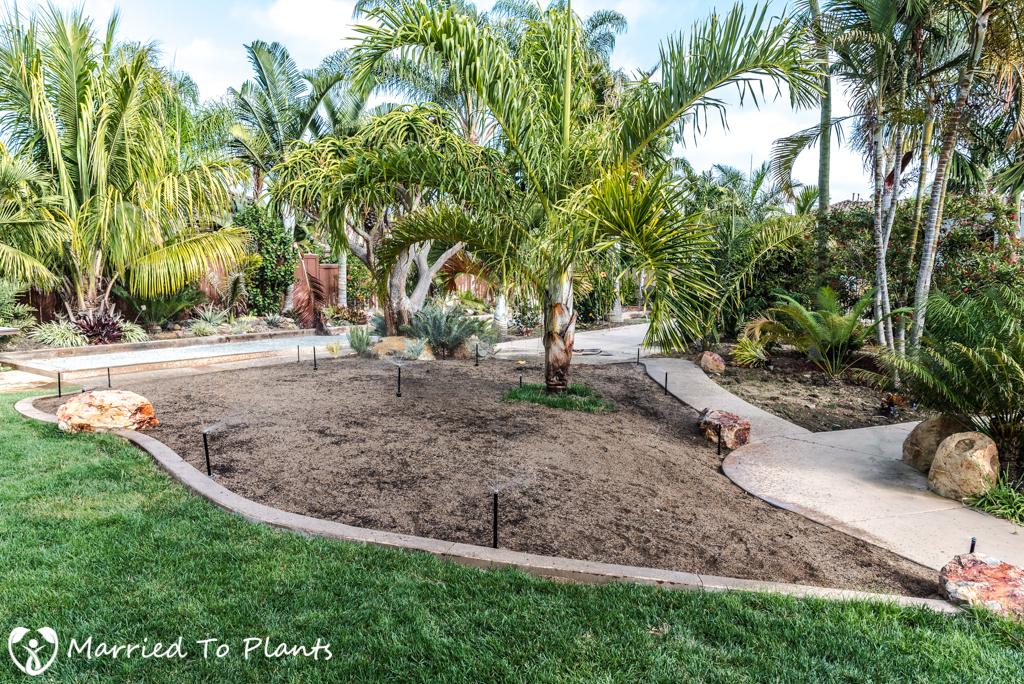
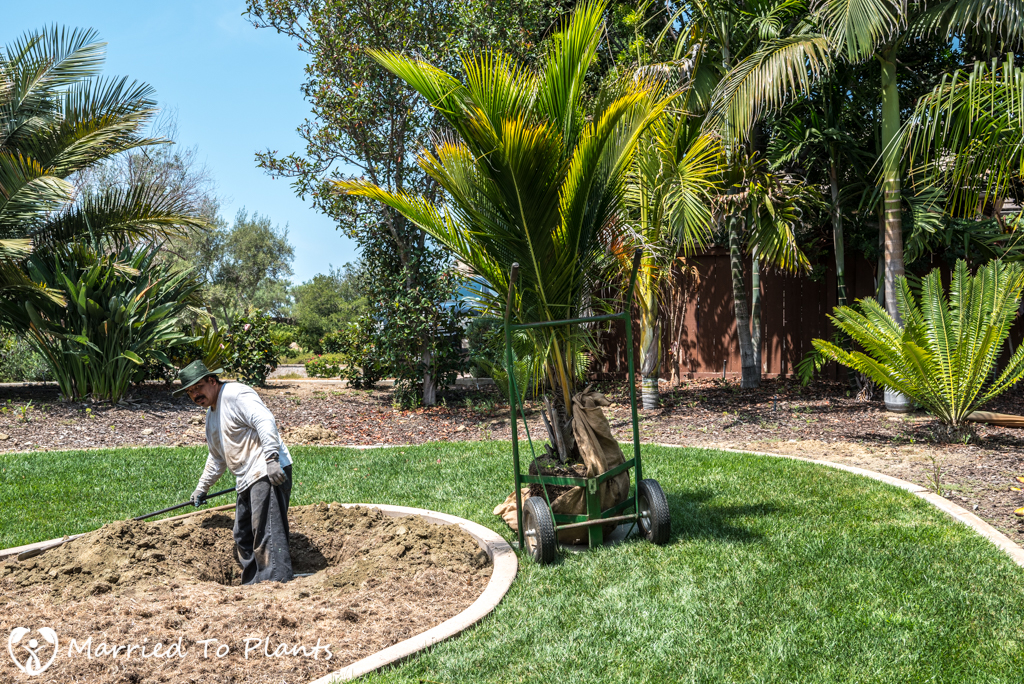
With planter bed preparation completed, it is now on to the most enjoyable part of this project: planting. I stated earlier that I will write up a post or two once everything is planted out and once I have finished adding more boulders, rock and mulch. Who knows when that will be. My budget ran over long ago, so I will need to add the rock and mulch over time. Still, you could probably see a few plants already in the ground in the photos above. So for a sneak peak I will show you the first plant in the ground for each main new bed I created.
The earlier photos in this blog post of the front planter bed show a large palm in the ground. That palm is a Beccariophoenix madagascariensis which was transplanted from the back yard because the initial planting location was too narrow for such an eventually massive palm. Although slow, this Beccariophoenix madagascariensis will eventually dominate the nook it was planted in the new bed.
The first succulent planted in the aloe and agave bed was an Agave guadalajarana.

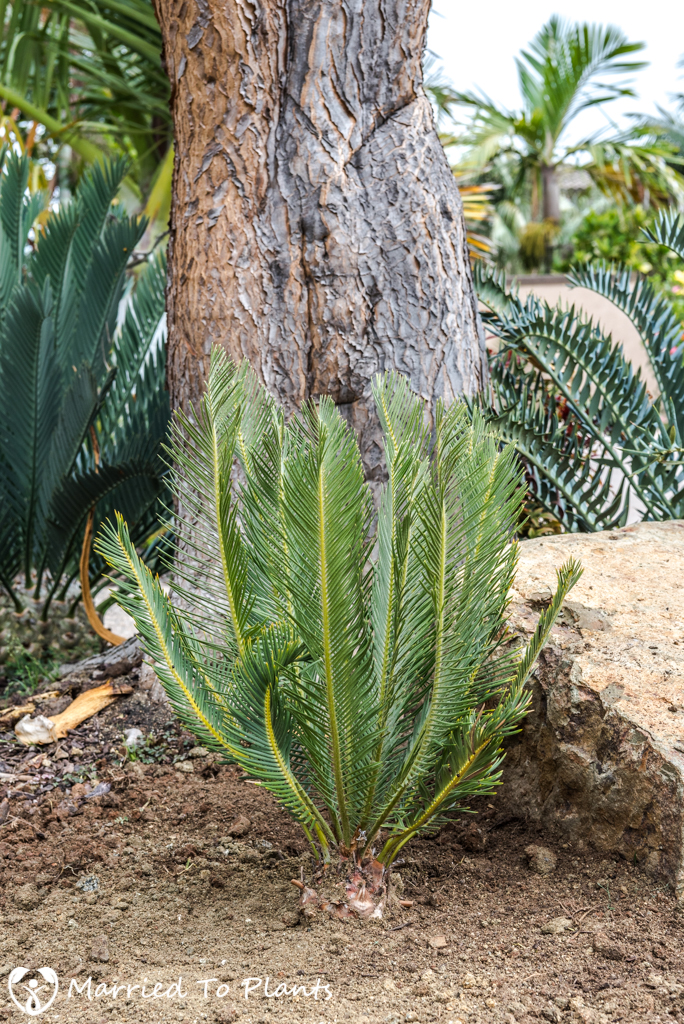
Now heading into the back yard where the new cycad garden will be. The first plant here was an Encephalartos ghellinckii ‘Mountain Form.’ This rare form of Encephalartos ghellinckii has rigidly upturned leaves similar to Encephalartos heenanii.
I know planter bed preparation isn’t the most sexy of blog post topics. However, it is a very important undertaking and will vastly help plant growth and overall health when done correctly. So do it right the first time, and your plants will thank you.
Many years ago I did a yard for a friend and used American Soils ( famous in the bay area) best planting mix. Best thing I ever did. Her already fine soil turned super. I was amazed at how the growth of what I put in exploded.
You need a high quality mix you can trust. Worth every penny. Or dollars-wink.
Already regretting the cheaper topsoil I bought. When wet it is like mud.
..and when I bought “topsoil” that was cheap at another Rockyard? Like you Len,when winter and rains came,all the sand they blended in sank and I had that mud you see that’s well under “topsoil”. All clay.
If its brown? NO matter how nice it feels blended with something…its no good. Black topsoil..or forget any topsoil and go for a mix.
American Soils is now in Richmond..waaay too far for me with a need for a just a few sacks worth..
I’m thinking Len..cheapest potting mixes? Might be best soil blend for special or choice plants.
Definitely has clay in it. Hopefully I can break it down quick with organics.
Your mow strips are so well done. I’d like that sort of thing between an agave bed and the Dymondia “lawn”. There’s that plastic edger stuff there now and it is pretty lame.
Here, the delivery charge for mulch or soils is as much as the stuff they deliver.
I agree. Can’t beat the cement strips.
Len,
Are/were you using the MP Rotators on your lawn? If so, what’s your watering length and frequency? …roughly since I recall you have a smart controller.
Thanks!
Adam
No Adam. I only use them on planter beds. They don’t work as well on grass.
No wonder my lawn looks like crap! 🙂 I put them in on my lawn, increased the watering duration and figured slower application over a longer period would be the way to go. So much for that theory.
For lawn since shallow roots, I like to get water out fast on it. I use the new Rainbird HE-VAN nozzles and they are awesome. Actually writing review for blog on them in few weeks. Great for lawn.
Cool man! Thanks! I will check them out. What’s your rough water duration and frequency with HE-VANs?
Pics of the garden look great by the way. Your place is killer. Love the B.mad. in a more prominent spot. One of my favorite palms.
I water for 6-10 minutes (depends on zone) every 2 days during this time of year. Every 3-4 days in late fall and early spring. One key is regular fertilization. The EZFlo helps here.
Totally awesome Len. I am envious….. and motivated. I’ve been following all your project updates. I can’t wait to see these new beds all planted out. Over the last couple of years I’ve spent a small fortune on my backyard with paving stone work, artificial turf, etc. I think I’m going to have to leave well enough alone back there for awhile, but you have totally lit a fire under my butt to get going on the front yard. I also appreciate the informative info you include with your blog like with soils as I am too lazy to properly research that kind of stuff.
Thanks for the nice comments. I totally get the “small fortune” thing. I put a lot of time into planning and even so I was about 20% off my budget when all is said and done with this project! I will be done with big jobs for a while now. Time to sit and watch stuff grow.
Nice blog update. Much better in person of course.
Thanks a lot Gary.
Any update on this project Len? Would love to see new pics
Yes. I should be writing again when back from Colombia in few weeks 🙂